Curb Appeal Landscaping Tips To Help Sell Your Home

Curb Appeal Landscaping Tips To Help Sell Your Home

It is important to always put your best foot forward. You never get a second chance to make a first impression, and sometimes, you aren’t even aware when it happens. This is especially true when selling your home.

Many potential buyers will drive around neighborhoods that they prefer in certain areas when looking for their new home long before contacting a realtor. If you have intentions of selling your home in the near future, you will want to start sprucing up your landscaping.

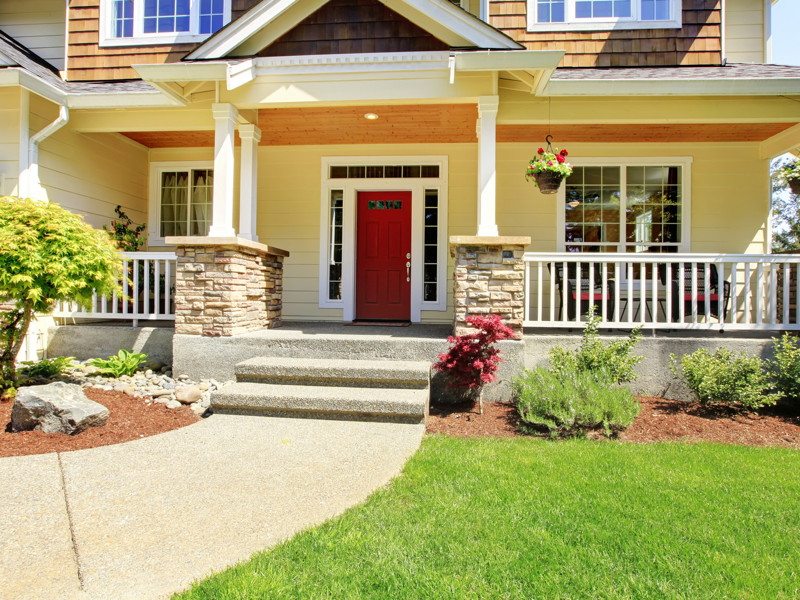
The parts of your yard that are visible from the road are significant in creating just the impression. Curb appeal landscaping can be worth its weight in gold. Quite literally, the right landscaping can actually increase the offers you receive on your home.

MAKE AN ASSESSMENT

The first thing to do once you have decided to sell your home, is to make an assessment of any updates, repairs, etc that will need to be made to help sell your home. Walk around your entire yard, front and back with a critical eye and a notepad for making a list. Get in your car and drive by your home slowly from all available angles as well and make notes on anything that sticks out or looks bare. Also, have a friend come over for a second look. This should not be a neighbor. The idea is for fresh eyes and you and your neighbors are used to seeing each others spaces on a daily basis.

Once you have made your list, go back and stand at the curb and look at the overall image of your yard. You want to make sure that your front door is the focal point. If it isn’t add that project to your list. With a few plants and the right arrangement, you can draw the buyer’s eye in.

One thing you can do is line your walkway with small green plants or annuals. This will lead the eye right to your door. Be sure to have a Welcome mat as well. To add a pop, you can add a potted plant to each side of your front door. The National Board of Realtors indicate that 63% of potential homebuyers will drive by after viewing a home they like online. You want to be sure that your home is always ready to impress and that starts with the outside.

CURB APPEAL LANDSCAPING TIPS


Here are some of the most common areas to address when making your assessment and to do list when preparing your home’s exterior to be market ready. The ideal time frame is to start any repairs or maintenance about one month before your home goes on the market. Of course, this depends on the number and complexity of the projects that will need to be done. This is a good rule of thumb for regularly maintained yards but you can determine your time frame better once you have made your assessment. We would suggest making your assessment list for both indoors and outdoors about 3 months ahead to give yourself plenty of time to get your home market ready.

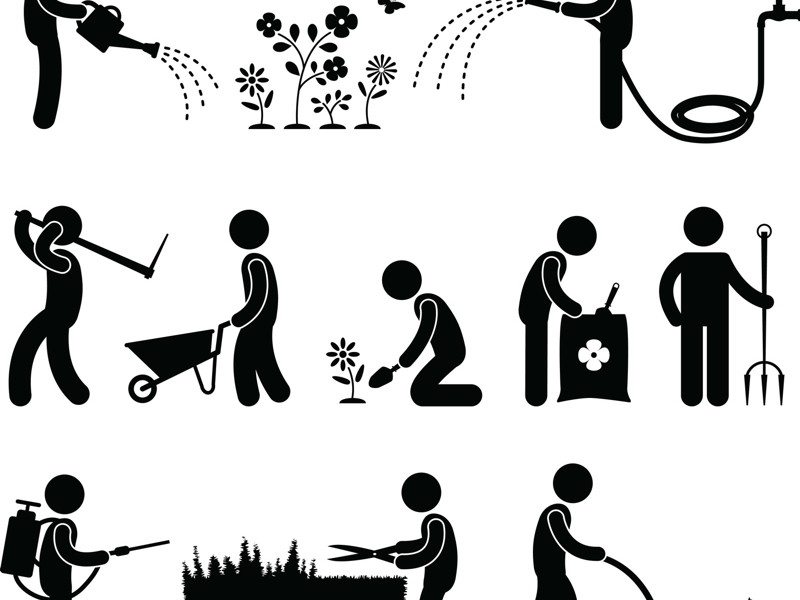
  • Mow – This may sound simple but it is vitally important. When selling your home, you want to keep your lawn at about 2″ in height. An overgrown lawn will deter potential buyers while a well-maintained lawn will send the message that your home is well maintained.
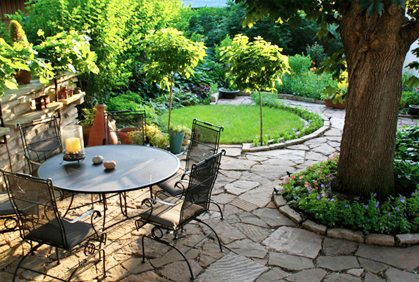
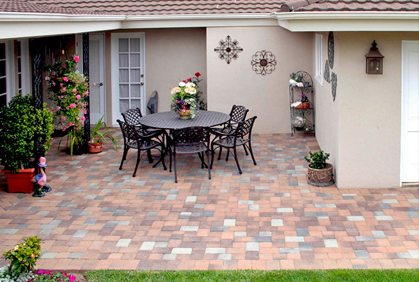
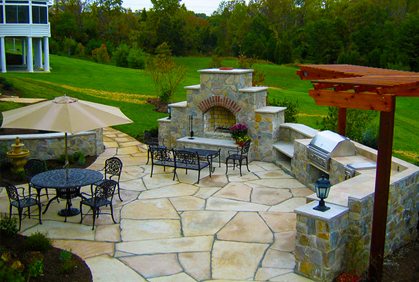
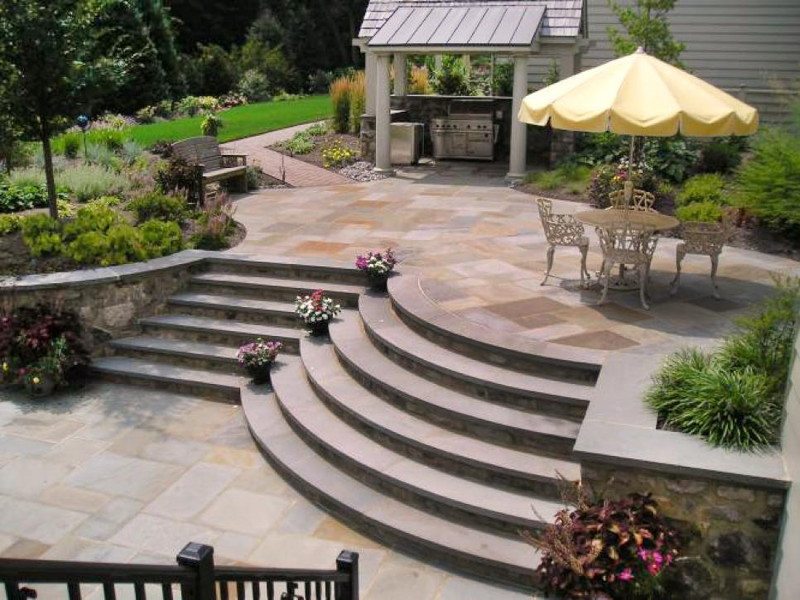
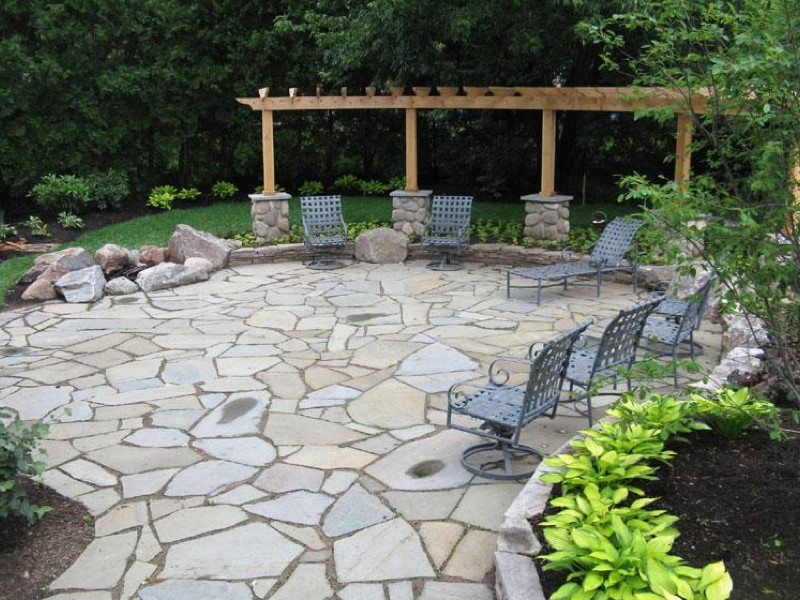
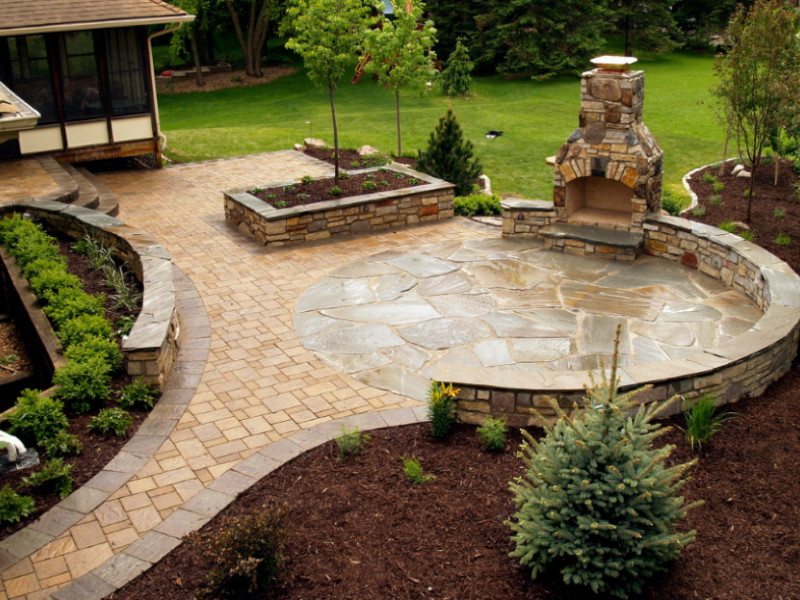
  • Trim and prune – When creating your assessment, you notate areas that need trimming and pruning. Removing any dead tree branches, overgrowth on shrubs and weeding beds will clean up your landscaping and give it a clean, crisp feel that will complement your home rather than deter from it. Also, remove any dead plant material from planting beds and consider removing any plants that are in bad shape or simplifying your landscape if you have too many plants of different shapes and sizes. Removing plants can add that clean look you want. If you have favorites that you know you will want to take with you, dig them up and put them in pots now to save time later. You can add these in areas where you removed plants or where there are any gaps. You also want to weed your driveway, walkways and any patio or deck areas and remove any vegetation that blocks windows or pathways to continue your manicured look.
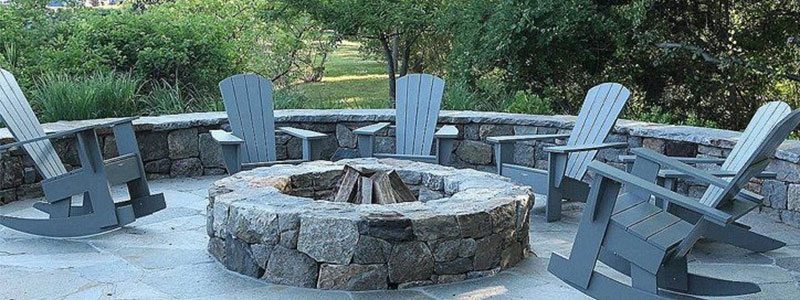
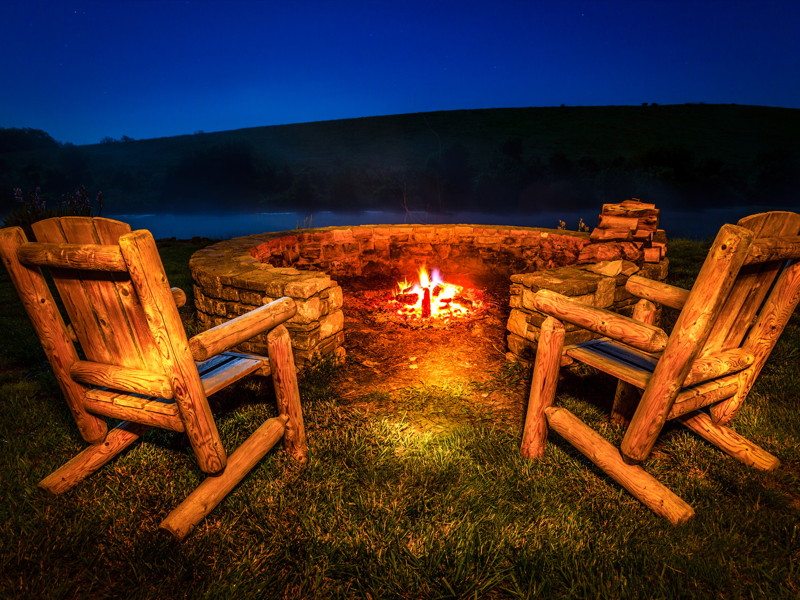
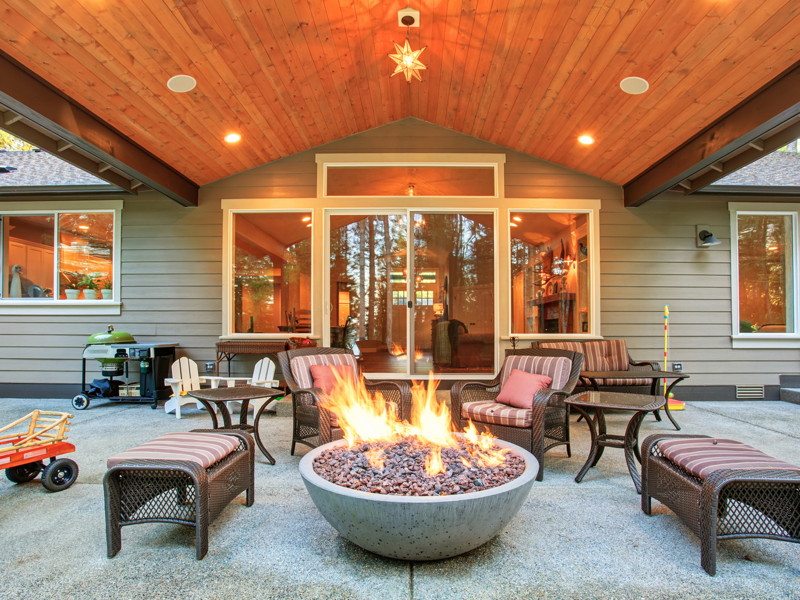
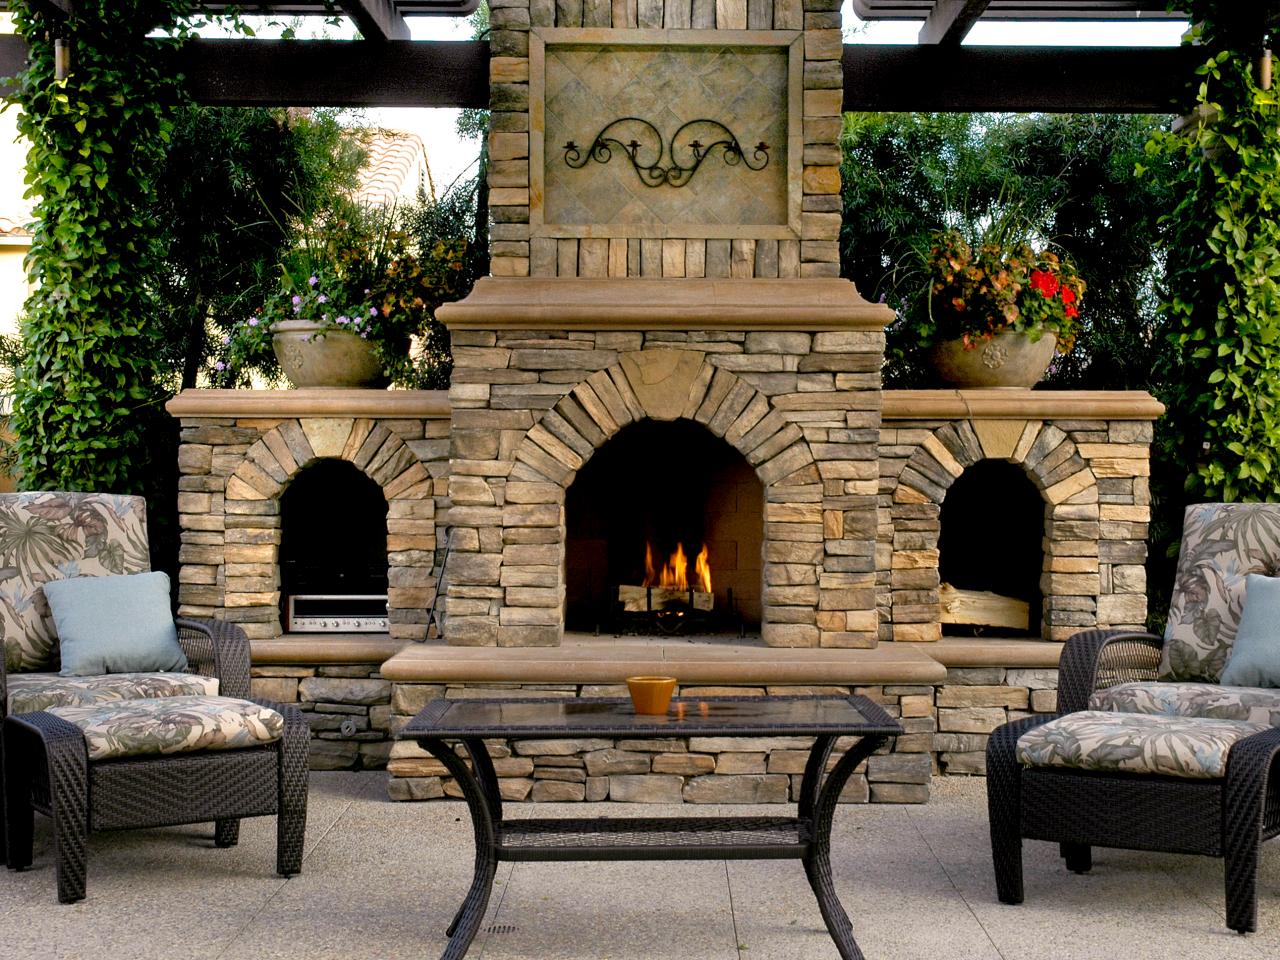
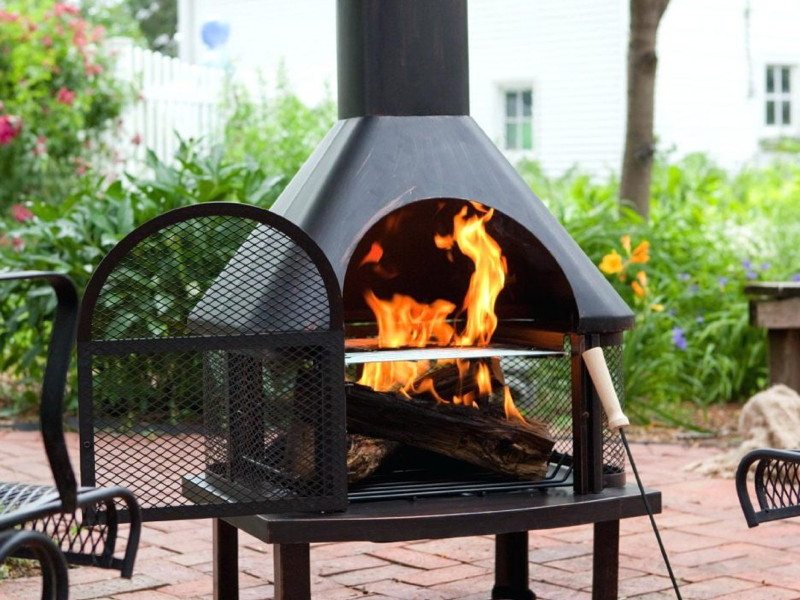
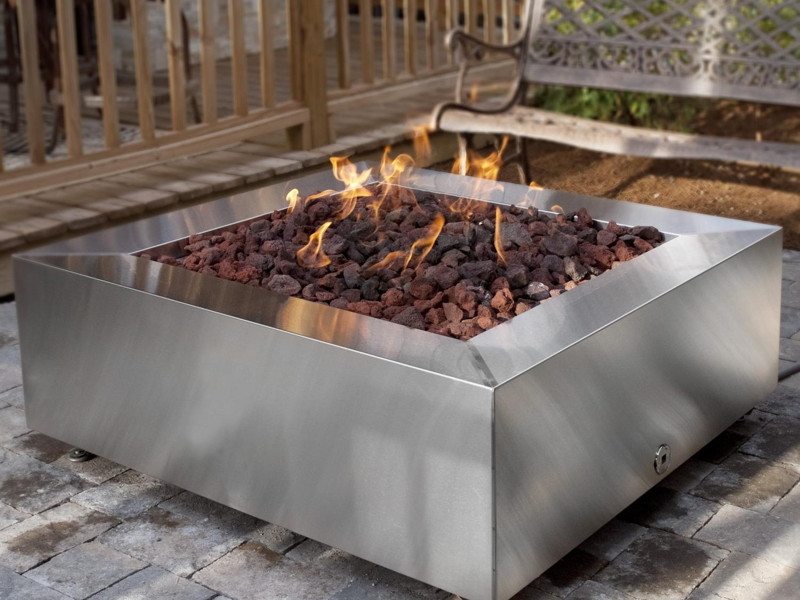
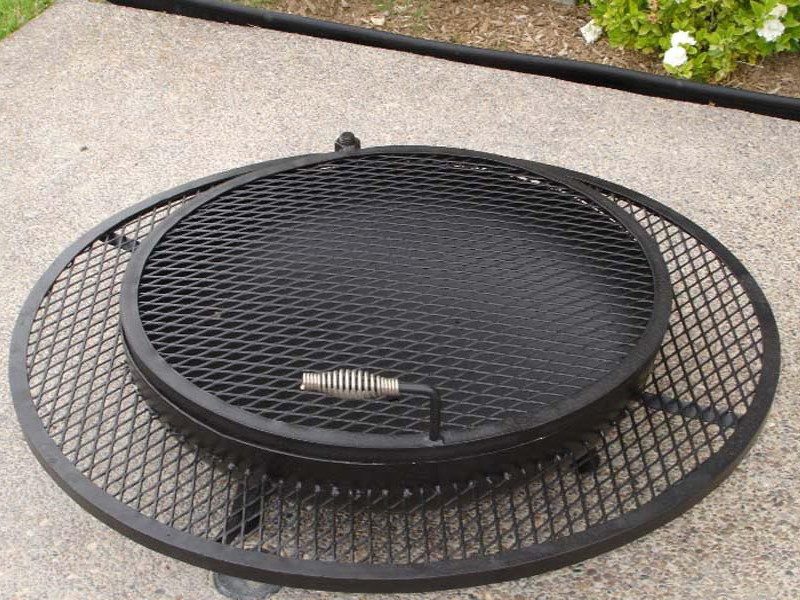
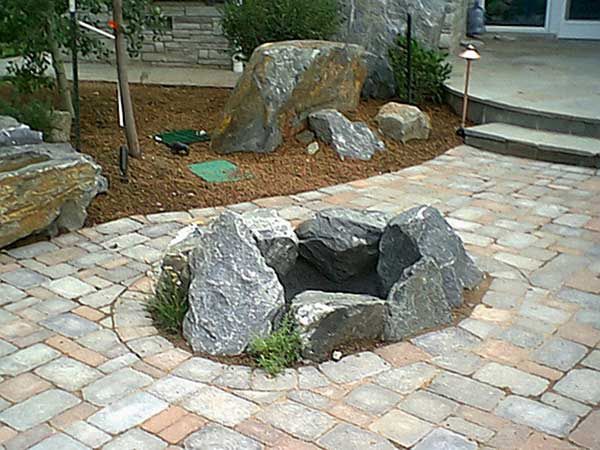
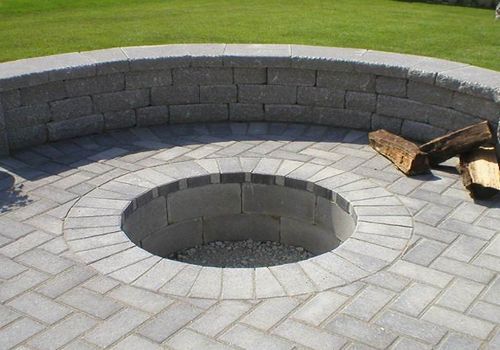
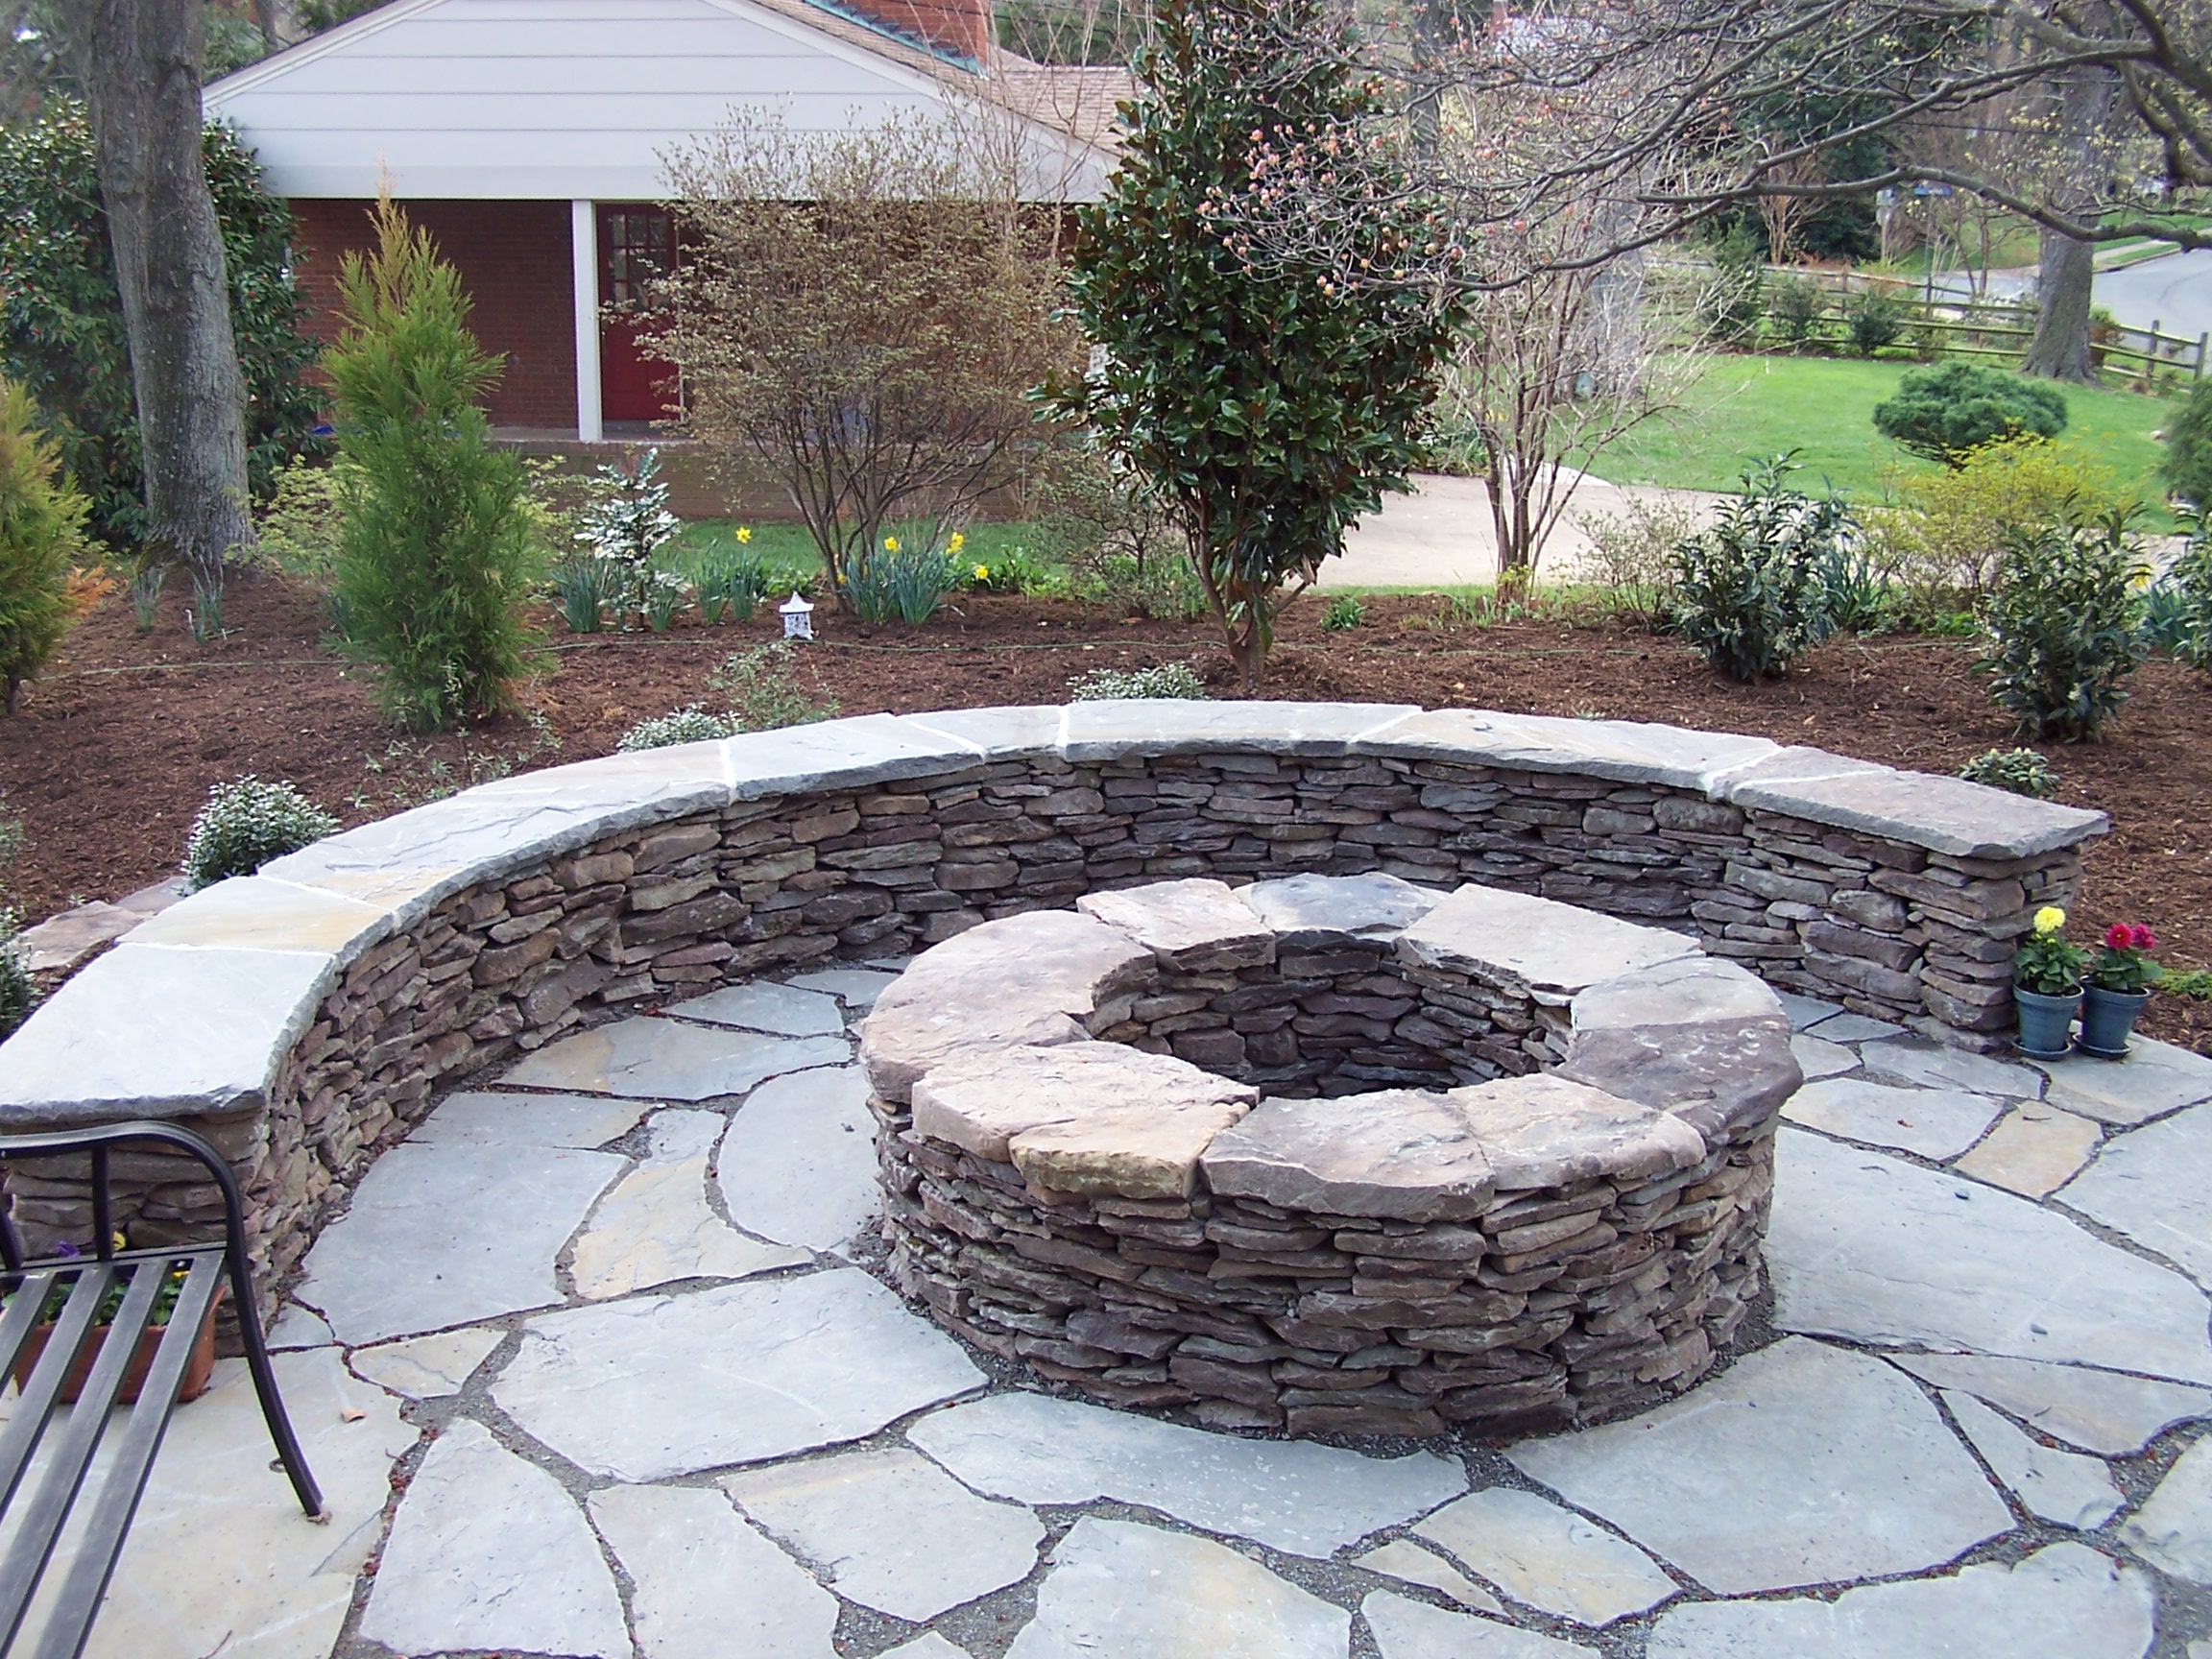
  • Clean – This is a big one. We come and go all the time and when you see the same thing multiple times a day, sometimes things are overlooked. Be sure to clean all areas immediately at the front, sides, and back of your home. A great way to do this is by pressure washing. You can clean off any settled dirt, cobwebs, mold etc pretty easily with a pressure washer. Be sure to include any fixtures such as fire pits, outdoor water features, and even your outdoor furniture when cleaning. Once the initial pressure washing is done, you can spray down these areas with a hose to maintain the cleanliness while your house is on the market.
  • Repair – Be sure to repair any issues with your irrigation system, faucet leaks, missing pavers, failing fire pits, etc once everything is cleaned up. You don’t want one eyesore ruining all of your hard work when a potential buyer spots it on their review of your property. This can also include adding a new coat of paint or stain to decks or patios, outdoor furniture that may be worn and faded. A fresh coat of paint to your front door and front trim with make your house pop and will draw in buyers.
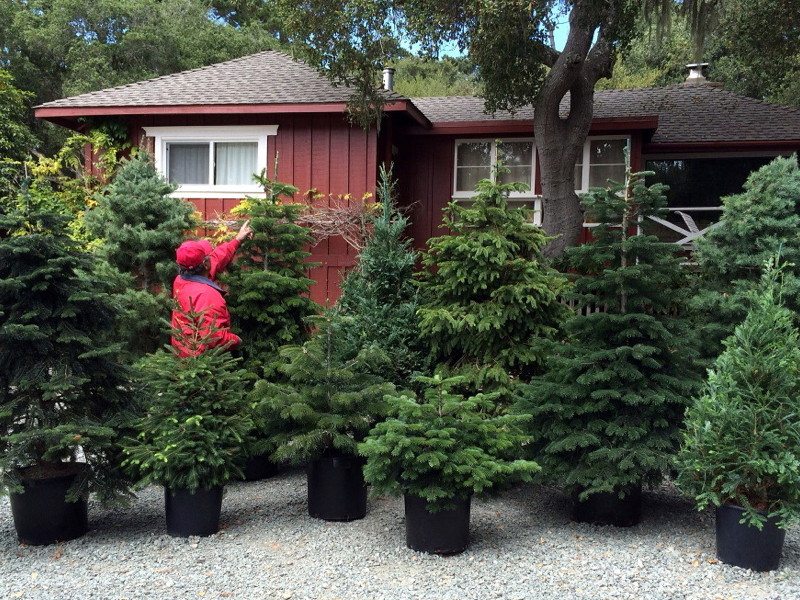
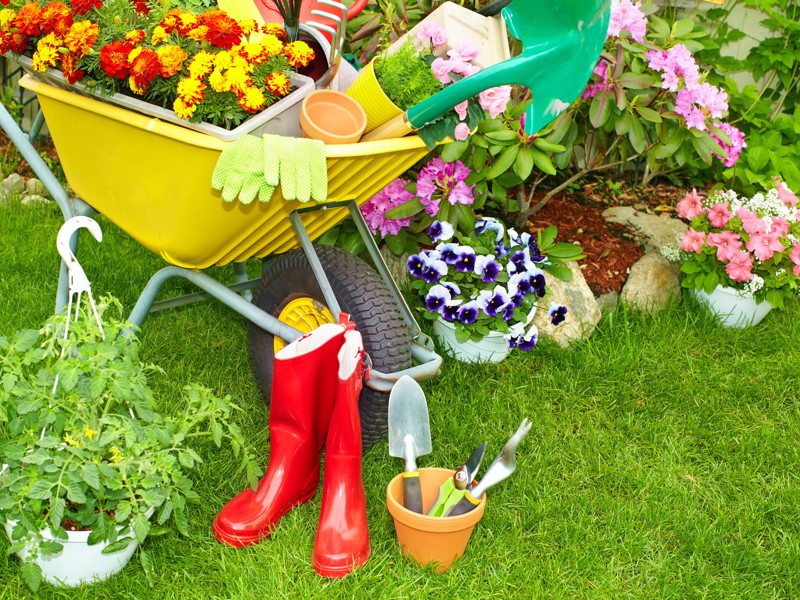
  • Plant and Mulch – Add some instant color and eye candy for buyers by planting some simple, inexpensive annuals. Mix it up with a variety of colors that complement your home and you will have an instant selling point. Touch up the mulch by adding a new top layer that will make your beds look tidy and clean. Be sure to keep these cleaned out while your home is being shown. If you need to shape your beds, curved lines work best and create a design that flows from the front around sides and into the back of your home. You want to keep beds simple. Plant in odd numbers and use easy to maintain plants. Also, consider labeling your plants, this will impress potential buyers by knowing what is planted and being secure in their ability to maintain the beautiful landscaping that you have created. Consider evergreens for shrubbery and for hiding any unsightly items in your yard such as pool equipment, garbage can areas or any ugly views from yards around yours.

With these tips, you can bring your lawn from sad to fabulous and create landscaping that will have any potential buyer anxious to come and see your home. Landscaping can add to your asking price and get you more for your home for just a small investment in time and money. It will also make you feel good to pass along your home to the next family with a great outdoor area that they can enjoy for years to come just as you did.


Types of Fire Pits: Which Is Right For You?

Types of Fire Pits: Which Is Right For You?

We may have just gotten through a cold snap here in Central Florida, but there is sure to be another right around the corner. If you are looking to add a new fire pit or replace an old one, what should you consider before just heading out to a big box store or ordering online?

There are so many different types of fire pits and options to consider, it can be overwhelming. The warmth of the fire may tempt you to jump at what is readily available, but you will be better served if you think through some simple points beforehand.

Uses & Types of Fire Pits

We all think of that cozy campfire when we think of adding a space for a fire pit to our outdoor area. However, there are many different uses to consider when purchasing or building a fire pit.

Consider Purpose

The first thing to ask when considering types of fire pits, is what purpose it will serve for you and your outdoor space? You may want something simple for warmth and light to a patio to enjoy during the cold snaps. You may want a more intimate and quaint sitting area for conversation a bit further into your yard?

You may also consider a fire pit that can dual as a grill for cooking or have a table top that can be used in the warmer seasons. Some fire pits can also become a focal point of beautiful design and chimney work for wonderful and functional entertaining.

So you want to consider what you will likely use it for the most often and what type of setting or mood you want for your outdoor spaces.

Consider Location

The second decision to make when considering types of fire pits is that of location. Of course, this is tied to your decision of its purpose, but you may have many choices of location in your outdoor space depending on your use. The most important thing is to first be self-aware in choosing a location and arm your self with some knowledge in regard to your local City and County guidelines and what types of fire pits are permitted.

Also, consider the exposure to smoke when choosing a location. The EPA has some great information in their Burn Wise program. Some other things to take in mind when locating your fire pit is taking care not to have an open flame too close to exterior walls of your home. As well, if you have a fire pit under a covered patio, take extra precaution and choose a small enough fire pit that it will not pose a risk of fire. There are some great, small tabletop fire pits that can work great in these areas.

Consider Type

Once you have decided what your fire pit’s purpose will be and where it will be located, the next step in your decision process is to decide what type of fire pit you want in regard to material. There are fire pits made using many different types of materials.

The first thing to consider for the type will be whether or not your fire pit will be portable. If so, there are many varieties to choose from. If you decide to construct a permanent fire pit somewhere in your space, you will have to choose from sturdy materials such as block or stone, but these permanent fixtures can become a beautiful addition to your home’s overall decor.

5 Types of Fire Pits

Below are some great examples of very different types of fire pits in a variety of materials.

  • Steel makes a great option because it can be used in many different designs as it is easy to mold. It is prone to rust, however, so be sure to look for powder-coated options.
  • Stainless Steel makes a more lightweight option and will hold up to weather while the price tag may be a little higher.
  • Copper is a very durable material that will develop a nice patina over time from flames but these are typically an expensive option.
  • Cast Iron is a wonderful option for fire pits because of its many advantages that include lightweight, heat conduction and being great for cooking too.
  • Aluminum is a very common type of fire pit as it is a very affordable yet very durable option for outdoors.
Types of Firepits

Installation or Construction

Even when installing in-ground, you can DIY or use a hardscape contractor to install something creative and unique using stone or block that will add a wonderful feature to your outdoor space. You can install rock, stone, or even a fire ring or in-ground design that will make your fire pit the one everyone wants to gather around.

Fuels and Other Considerations

Once you have decided on your fire pit, selected a location and type, the next stage of this process of choice is deciding what type of fuel you want to burn. While wood creates that crackle and smoke that some of us love, propane or natural gas can provide for much cleaner burning and minimal clean up and maintenance. Charcoal is also an option that can create ease of use, it can also be very messy and require constant cleaning and maintenance. Your purpose will direct your fuel choice to some degree but overall, you want to go with the option that will give you the most enjoyment out of your fire pit.

Lastly, consider what accessories you might want to go along with your fire pit. There are great tool sets for fire pits as well as grates and rotisserie options for cooking. There are also larger accessories such as removable tabletops and covers.

Hopefully our suggestions here will help you through your journey of choosing what type of fire pit is right for you and you will be happy with the fire pit you choose for years to come.

FREE DOWNLOAD

Landscape Assessment & Planning Checklist

Landscape Planning Checklist

Patio Planning: Creating Your Outdoor Oasis

Patio Planning: Creating Your Outdoor Oasis

Even though it may be cold outside in Central Florida right now, it is a perfect time to start planning for that new or redesigned patio. You can enjoy a patio this coming Spring and Summer and for many years into the future. We have the benefit of enjoying the outdoors for far longer throughout the year here than in most of the country. While we are snuggled up avoiding the cooler temperatures outside, we can begin to take the first steps in our patio planning. Not sure where to start? Here are some great tips and considerations for you to start your planning.

Functionality

The very first step to patio planning is to consider what purpose(s) you want it to serve. Do you want to host large parties or family gatherings? Rather, do you require a small, intimate space for morning coffee for two or a quiet meditation spot? Deciding the functionality for your patio area is first on your checklist. Making this first decision will lead you to the next steps of location, size and layout.

One of the best design tips we’ve heard in a long time comes from Designer/Contractor Scott Cohen in an article on ConcreteNetwork.com. Scott says that placing one large patio at the rear of your home can be a big mistake. Instead, consider breaking up the space into smaller gathering areas or “outdoor rooms”. This can allow for ease of flow in entertaining as well as smaller, more private areas for conversation. Whether during a big party or just for relaxing with your spouse or a friend, people tend to gather in more intimate, informal areas. You can also create an individual oasis designed with just your favorite things for escaping into your own space when you need a breather from family-life chaos.

TIP: If you plan to use your patio for entertaining frequently, you will want to be certain that a portion of your patio is either accessible to your kitchen or creates an outdoor kitchen area for ease in serving your guests. You will avoid a lot of frustration in trekking back and forth inside into your kitchen to replenish your refreshments.


Location, Location, Location!

As we said in our first step, people usually think of a patio as a big area right off the back of their home. In reality, there are really so many other options to consider with just a little creativity and knowledge. A good exercise in determining the location of your patio is to walk your property. Assess your yard. Be aware of any major slopes that may be a challenge (or require additional construction of retaining walls), consider sun and shade areas, property or fence lines and how close your neighbors are in proximity to your proposed location.

Another detail most people don’t think about is the aesthetic of your patio from different vantage points. While the main purpose of a patio is to add a functional outdoor space, it also becomes a visual aspect of your yard. While walking your area, consider views from the patio as well as views OF the patio from different areas including the inside of your home or areas of lawn beyond your patio. This is especially helpful when designing for a large yard or property that meets and incorporates any waterfront.

The last thing to consider when assessing your location is any existing or future landscape plans. You are not held within the boundaries of existing landscaping. It is extremely helpful when designing your patio to consider the future. Any plans for additional landscaping, walkways or even pool additions can change your patio design drastically. By taking these into account from the beginning, you can plan and grow into creating your ultimate backyard oasis without the need to destroy or redesign any previous work. This will also result in big savings in the long run. Your Orlando Area Landscaper can assist you in this process and is a wonderful resource when it comes to planning an overall design for your space. Whether you DIY or hire someone, having a master plan is vital. As an additional resource, check out our Landscape Assessment & Planning Checklist.

Size & Layout

Once you have decided what purpose(s) your patio will serve and where it will be located, the next step is to consider size and layout. HGTV offers some great design ideas!

One of the biggest mistakes made when designing a patio is the size. The amount of space for your patio needs is often underestimated. Whether going big or just large enough to create a small outdoor eating/gathering space, be sure to plan for enough space for furniture and movement. How many times have you been to someone’s patio and your chair hits dirt when you pull it away from the table, or you have to strategically place your chair so you don’t sink one leg into sand? This are all factors in sizing your patio. Movement and maneuvering around patio furniture is ofter not given the attention it deserves when patio planning.

Layout is equally as important as it will affect the amount and sometimes, type of materials. Are you looking to go geometrically square or rectangle to surround the back exterior of your home? While this may save some in materials, it can be rather boring too. Consider some curved lines. You can easily add some curvature to the edges of your patio to create movement and flow with nature in creating landscape areas now or into the future. Curved lines also add an element of visual interest to your space from other vantage points in the yard as well as from indoors.

For this step, we recommend using a Professional Landscaper for design. You can find some good Landscape Design Software online as well, but it helps to have the expertise of a professional when choosing size and layout. Landscape Designers and Installation Professionals have vast experience when laying out patios and will have a depth of knowledge when it comes to any hurdles or challenges that your specific space may contain that could affect the overall design. The last thing you want to do is get to the installation and discover that your design just won’t work because of some unforeseen issue.

Materials

There are many different varieties of materials to choose from when patio planning. You want to be sure to choose a material that will complement the material, color and style of your home. If you have a traditional, stately home, you may want to avoid contemporary or trendy modern materials.

Some of the various materials available include;

  • Concrete – while plain concrete can be pretty boring, you can considering dying it or using a stamping method to give it some texture and contouring. While it may be plain, concrete is a very inexpensive option that can be dressed up.
  • Natural Stone – this is a very popular but also pricey option. Natural stone tends to complement both the nature surrounding your home as well as your landscaping. Coming in so many varieties of color, shape and size, natural stone can fit just about any home decor.
  • Brick Pavers – are a bit more cost effective and also come in a variety of colors and textures but overall are pre-cut and uniform in size. If you decide on brick pavers (or reclaimed brick), be sure to break up the space with landscaping beds or potted plants give your patio a more comfortable feeling as pavers can take on a very industrial look in wide open spaces.

Make it a combination! You can also combine materials when creating your patio. If you decide to be this daring, be sure your materials complement each other as well as your home. We also recommend an Orlando Landscaping professional to help you with this as transitioning between materials can be very challenging. The photo below is a beautiful example of combining minimal natural stone with pavers to give a more sophisticated look to your patio while still remaining cost effective.


Extra Features

One of the last things to consider before moving forward in the patio planning process is those incredible extra features. It is much easier to incorporate such things in the planning and design phase rather than try to make them fit into an existing patio. Just a few of the extra features you can consider are:

  • Fire pit or Fireplace or both for warmth, warm light and ambiance after dark.
  • Outdoor Kitchen help to prepare for those large parties or to cook and enjoy family dinners outdoors.
  • Lighting Features around the patio help create ambiance and edging with a glow during all seasons.
  • Water Features are relaxing and can help to drown out any noise issues such as a busy street.
  • A Trellis can add shade and provide privacy from a second story or neighbor’s view.

There is so much to consider when patio planning, but with these few steps to get you started, you will be well on your way to creating your very own backyard oasis. Keep up the daydreaming while it’s still cold outside and be sure to make lots of notes and save pictures of your ideas. When the weather is a little warmer, take your plan to action! You will be sure to have a picture perfect patio by the end of Spring!

Great Ways to Recycle Christmas Trees

Great Ways to Recycle Christmas Trees

Now that Christmas is in our rear view mirrors and we are enjoying all the wonderful gifts we received, it will soon be time to take down the tree, store the ornaments and dispose of your live tree. There are many ways to recycle Christmas trees and putting them to good use for a while longer providing gifts to nature and our environment.

Recycling Collections

Recycle Christmas Trees

The easiest and simplest way to recycle your Christmas Tree is through your local City of County waste agency. Most all municipalities offer some form of Christmas Tree collection during the first two weeks of January. Usually, trees are put through a chipper to create a mulch which is then offered back to the public for free. This a great service and a good way for your Christmas Tree to continue it’s gift giving! Pick Your Own Christmas Tree offers a great list of links to Florida Counties and information on recycling. You can also gather a group of neighbors to rent a wood chipper, if no one owns one, and have a chipping party. Everyone can chip their tree and then share in the mulch provided.

Let It Go To The Birds!

Roedells Landscaping Christmas Tree

You can move your tree right in the stand outside and create food and shelter for wild birds. You can hang treats for the birds as new tree decorations such as birdseed balls, popcorn strings or fruit in mesh bags. This is a great family project and teaches the lesson of recycling and caring for your environment. You can put the tree near a bird bath as well and the combination will not only attract beautiful birds to enjoy watching, but will also help to feed them.

Let It Swim With The Fishes!

Sinking your Christmas Tree is a great way to improve fish and marine habitats. If you’ve got a lake or pond on your own property, or can get permission from a neighbor, consider sinking your tree into it. That evergreen Christmas Tree can create a natural and decomposing habitat for fish and will attract algae for them to eat. Be sure to remember to remove all ornaments, hooks, and decorations before dropping it off. Keep America Fishing offers some great information on sinking your tree.

Recycle Christmas trees in water

Start A Compost Pile

recycle Christmas trees in a compost pile

One of the best bases to start for a new compost pile is a layer of thin branches. Small tree branches allows airflow at the bottom of the pile and will break down over time. Trim the branches of your Christmas Tree down so they fit snugly into the bottom of your bin. Crate a stack of branches four to six inches high. Once you have the branches on the very bottom, you can start adding your food waste and other organic materials. This will create a wonderful soil to add to your garden all year round.

Rodale’s Organic Life offers a great article on building your own wooden compost bin. If you haven’t started this great practice yet, let 2018 be your year to start by using your Christmas Tree.

Recycled Christmas Trees Needles

Other Garden Uses

There are many other ways to recycle Christmas trees that will allow it to keep giving, especially in your garden. You can allow the tree to dry out, shake off the needles and use for mulch, then take the bare tree and keep to use as a trellis in your garden for climbing plants such as beans or peas. You can also cut branches off and use for covering fragile perennials from cold weather. You can use the trunk after branches have been removed to edge a flower bed or to place in a prime spot in your garden for a nice resting place for birds or squirrels. You can also create a post for your own gazing ball to enjoy all the wonderful reflections of your garden.

Living Christmas Trees

Consider A Living Tree

Next year, when it comes to picking out your tree, please consider a living tree. These Christmas Trees are not simply cut down and put into a stand. These trees come potted with roots in tact. You can even start small and use the same tree for several years in a row. Once you are done with your tree, you can plant it in your yard. Over the years, you can create a border for your yard or a nice covering of shade by spacing randomly.

Gardening Gifts for Christmas

Gardening Gifts for Christmas

Picking out a nice Christmas gift for those in your life with a green thumb can be difficult. There are many cute, unique and extravagant gift options in gardening centers, small garden-themed boutiques and, of course, all over the internet. So what to do?

Our suggestions would be to think simple. Most gardeners would rather have new tools, gloves or other supplies that will help them continue to do what they love into the new year without emptying their pockets at the same time. Gardening can get very expensive, especially if the gardener is experimenting with new plants, crops, or growing methods.

Avoid plants. Even though this would seem a natural choice in gifting to someone that loves to plant, to most gardeners picking out plants is a very personal and individual process. They are very specific in what their goals are and you may not be aware of any current or future projects they have in mind.

Some of the best gifts a gardener can receive are their tools of the craft. This can sometimes be difficult to purchase unless you know the gardener in your life very well. Most are pining over a new tool, a new book or something to elevate their gardening experiences, but you may not know what those things are. Unless you are an avid gardener yourself, some of the tools and supplies can be as foreign as art supplies for someone that has never held a pencil or paint brush.

If you don’t know exactly what to pick out for the gardening aficionado, try to find out what their favorite gardening center is and get them a nice gift card so that they can pick out their heart’s desire. Another great idea is to purchase books, magazine subscriptions or other informational materials. This is always a great way to go. Winter is a dormant period for most plantings, even here in Central Florida. It may not come to a screeching halt as it does up North, but there is much less activity that goes on during the Winter season than in Spring and Summer. It is always nice to take the extra down time to dream about what your next big gardening adventure or undertaking may be and nothing provides that better than some inspiration.

For those of you that feel you just have to give a gift, there are a lot of options out there. We took some time to scour the websites and got some suggestions from our locals and have included some of our favorites here. You can click on the pictures to find out more information about purchasing.

Gift Ideas

This gathering basket is perfect for the flower or vegetable gardener. From Williams Sonoma, this basket is durable, light weight and will last for years to assist when picking flowers to enjoy in an arrangement or vegetables to enjoy for dinner. Offered in various sizes, combinations of these baskets will allow for decorative storage of your freshly gathered garden harvest in your kitchen.

These hanging planters can be hung outside or inside and used with a variety of plants. We love the window herb garden and these allow a more custom and sophisticated option to incorporate into your decor. Houzz and Uncommon Goods offer similar options.

For the gardener that is either new or committed to composting and creating their own fertilizer, a composter is a wonderful gift. This living composter has a very unique sculpture design and is odorless. This is a great way to reduce the amount of waste from your kitchen and continuously supply your garden or flowers with the best fertilizer found anywhere.

Whatever choices you make for your gardening gifts, they are sure to bring some sunshine and happiness to your favorite person with a green thumb!