How To Plan A Successful Landscape Design

How To Plan A Successful Landscape Design

Most of the time, our landscape evolves over time, and over that time, we begin to notice how random and unorganized things really get. As we add plants here and there, it can easily become an arbitrary mix of misplaced good intentions. When you begin considering a landscape design to bring things into a better planned outdoor space, there are key things to consider. These are important to know regardless if you decide to do it yourself or hire an Orlando Landscape Design Professional. You will want to make sure you are informed and knowledgeable every step of the way.

A Landscape Design is putting your plan to paper and organizing your wants and needs in line with some basic guidelines forethought to future needs. There are many options to accomplish this. You can find a design program and attempt the do it yourself route, you can hire a professional or you can design on the fly if you are a more experienced gardener. We suggest, whatever route you take, to arm yourself with the knowledge of what to consider through each step of the process. It will make things easier and a lot less frustrating in the long run.

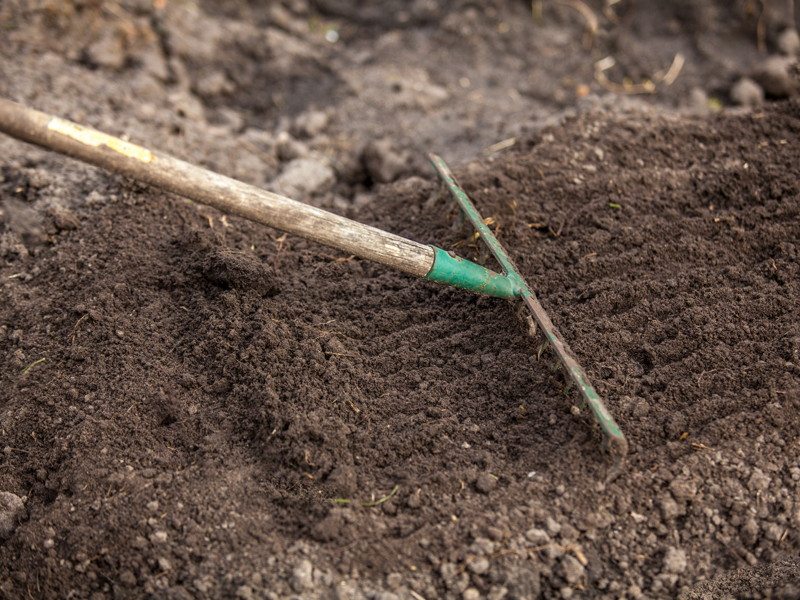
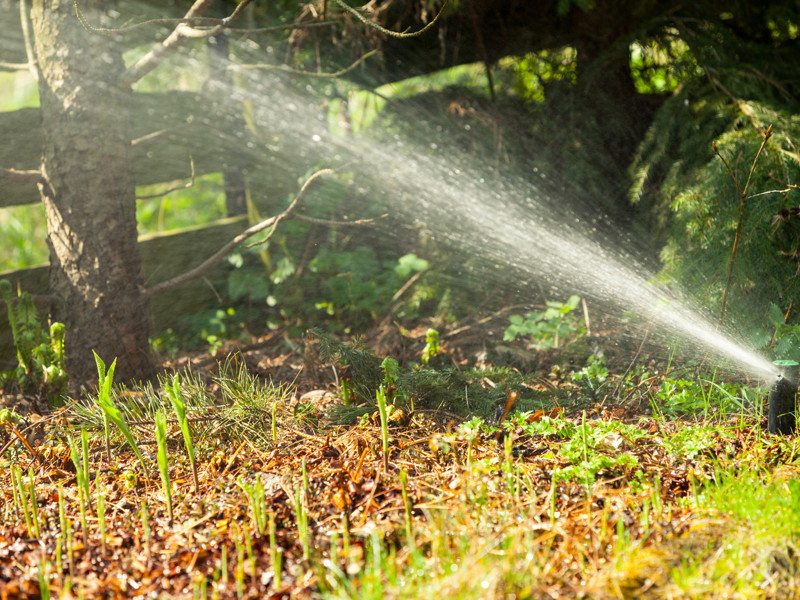
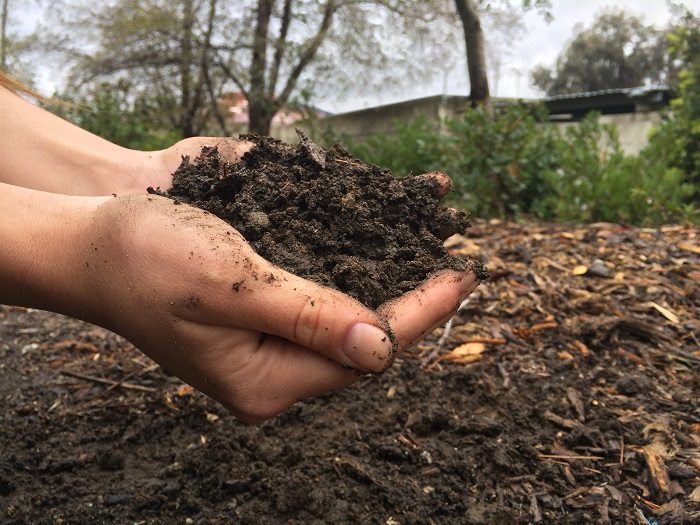
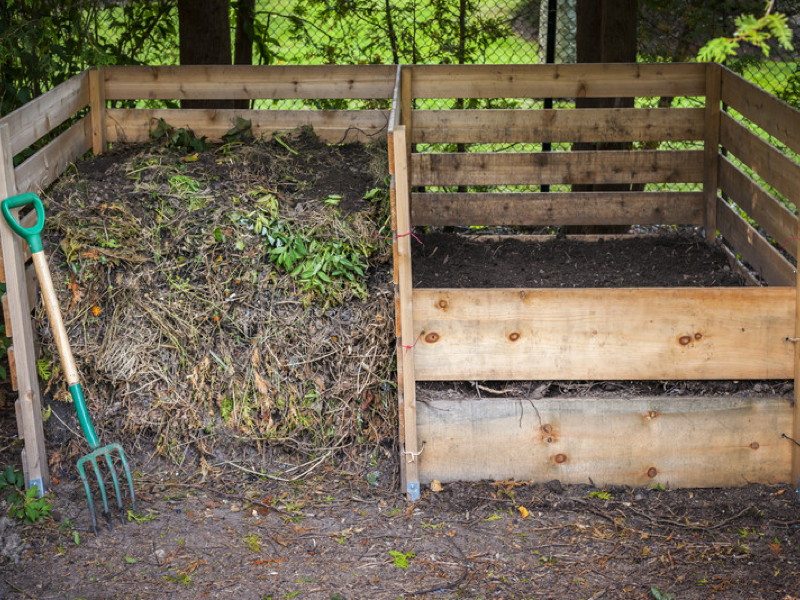
The first step in planning any landscape design is to conduct a site analysis and inventory existing landscape. When overlooking your property, make note of climate conditions, areas of shade and sun, drainage, and be sure to conduct a soil analysis from different areas of your yard. It is important to consider areas of activity and function when beginning your design and where planting should occur to yield the best results with the least amount of maintenance. Proper plant placement is imperative to this, so it is important to note existing vegetation and what seems to be thriving and what seems to be struggling, so you can create the best combinations for your needs and desires for your outdoor space. We offer a great resource to help you do this with our Landscape Assessment & Planning Checklist. Also be sure to know the locations of utilities, septic tanks, and roof overhangs before you choose planting locations. When you begin drawing your plan, or if someone else does, make note location and measurements of existing structures and hardscapes such as patios, driveways and walkways.


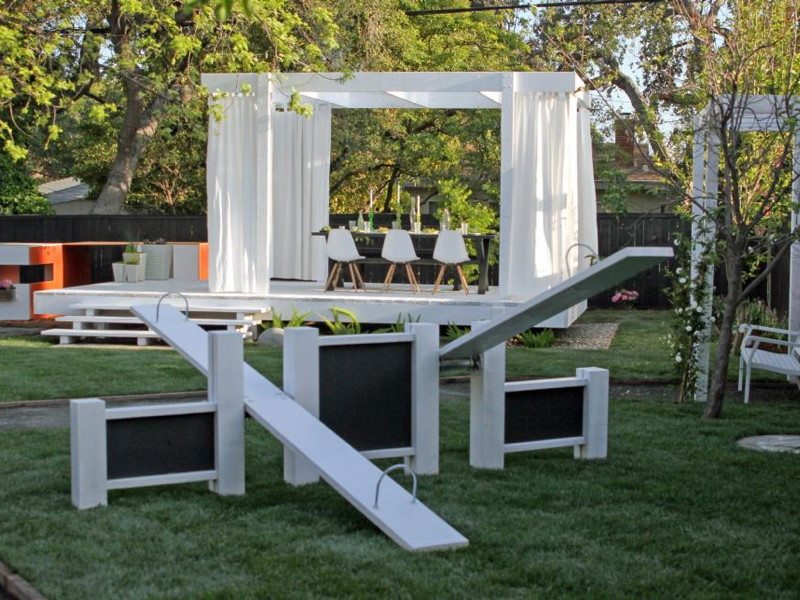
The next step in planning after completing your site assessment and inventory is to plan for what you want, but also for what you need. Your Orlando Landscape Design should include functionality as well as beauty if you intend on spending any significant time in the areas. We sometimes get away with ourselves when dreaming about that perfect garden or outdoor space and neglect to think of day to day function. It is important to remember how your space is used currently so you can plan a better design for the future. Things to consider are which entries and exits are used. Plan for this. We are creature of habits and you don’t want to overlay something over an area of high traffic that will be unlikely to thrive. If you have children or pets, consider their habits and favorite spots in the yard as well as new areas of design that might be well suited for them. HGTV has some great examples of Family-Friendly Designs. Keep in mind to leave a space for equipment access for future maintenance or building projects. Don’t block your space in and leave no way to get there without tearing out some of the wonderful landscaping you’ve planted. With these things in mind, then consider how you want to utilize the space in your new design. You can re-organize old spaces and add new aspects as well. Consider your budget including ongoing maintenance. Keep in mind that elaborate or detailed designs require a lot of upkeep and maintenance to keep the desired look of the design. Decide how much you are willing to commit with an ongoing basis.


The next phase of design will be considering your form or theme. There are endless options limited only by your budget and imagination. You can choose from simple to complex, but there are some key elements to keep in the back of your mind when choosing. Take a walk around the areas. Decide if you want open areas, some closed areas, a more intimate space around the perimeter of your home or a wide open large space with multiple uses. Consider your surroundings as well, it you have views outside of your area, be sure to keep those open to enjoy. If you have a more Urban neighborhood, you might want to consider a more private space. You can use gardening magazines for inspiration and take some drives around your community for ideas. Be sure to customize these to your own level of design including budget and your site requirements.

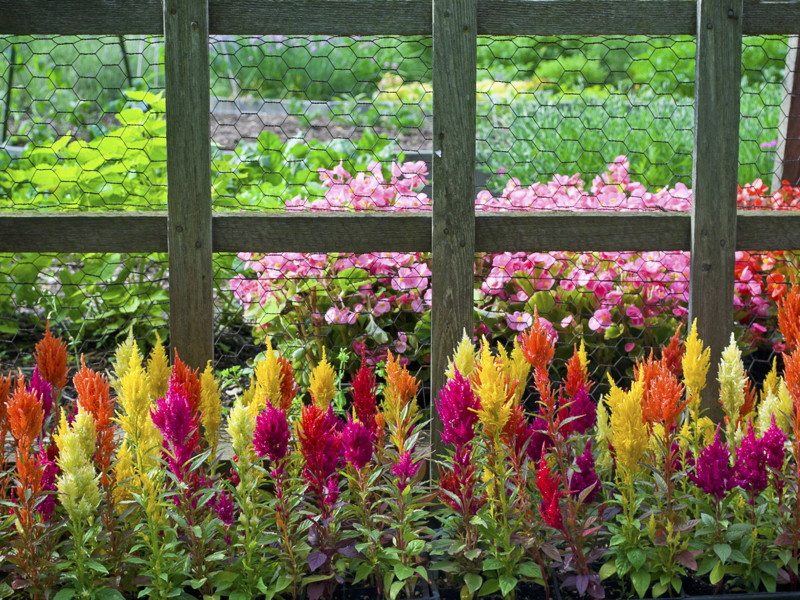
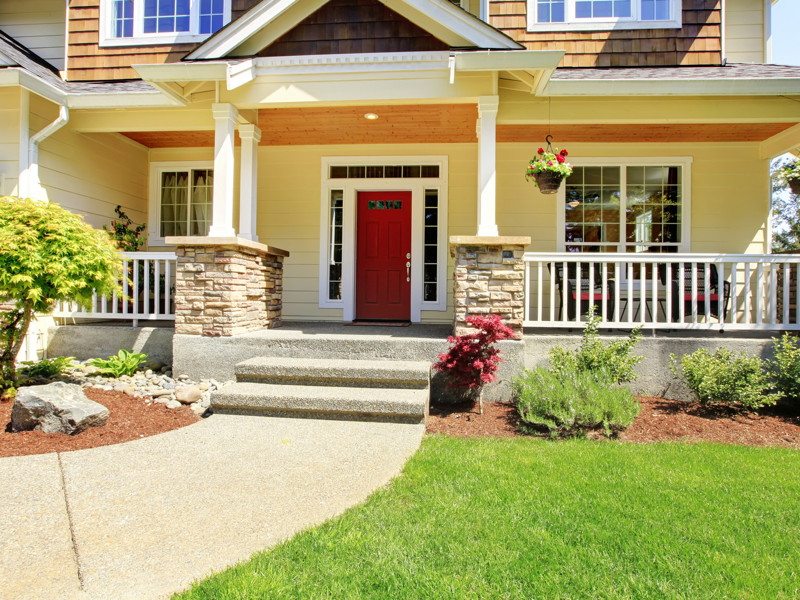
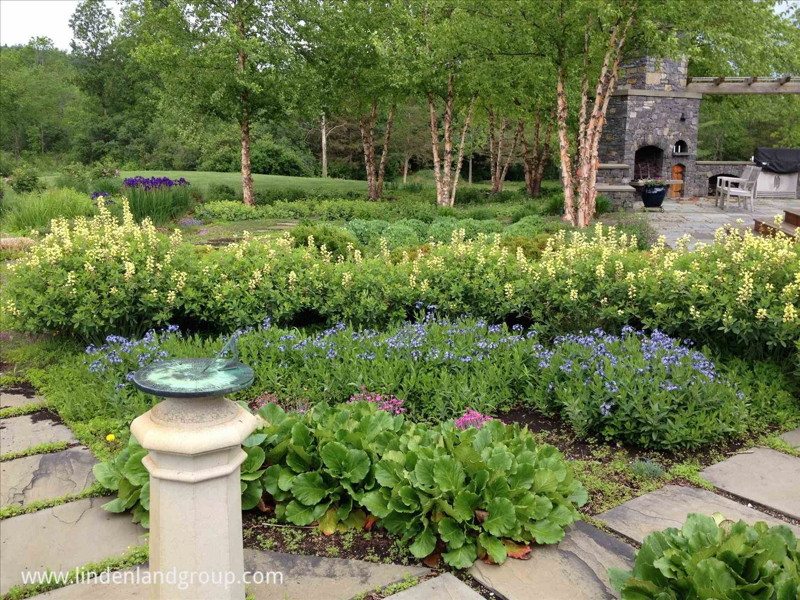
Style themes are typically related to the architecture of your home, they can also be based on a period of time, cultural themes or an energy you wish to create such as peaceful or whimsical. An important side note here is to consider what focal points you might want to create within your style theme and maintain those throughout your design. Think about what catches the eye and where these focal points can be located throughout your space to be inviting to those strolling through to continue moving them along into what you desire your landscape experience to be. Focal points should stand out but not be so different from surrounding visuals that they stick out like a sore thumb.

While it is not necessarily important to have a style themed and many spaces have no particular style per se, it is very important to have a form theme. A form theme is is the organization and shape of the spaces in the yard and is usually based on the shape of the house or the shape of the property between the house and your property lines. It can even be based on your favorite shape, but the form theme will determine the layout of the spaces and the transitions needed to be created between them.

Lastly, when considering themes, you will need to think about the spaces you want to create and how those spaces will be linked together. A design usually includes public spaces such as an open front yard, private spaces which are usually your backyard and service spaces which tend to run along the sides of your property. The location will usually determine what types of activities will take place there. Front yards welcome family and friends into your home while backyards become our outdoor rooms and spaces for entertaining and relaxing in privacy. You should consider combining areas with shared or similar activities and separating those that differ. You would want to keep a play area separate from a meditation spot, for example. This concept leads to thinking through how to link these spaces and create the flow and energy you desire for your landscape design. You should also keep in mind walkway areas and how those can fit into your design flow without seeming odd or out of place.


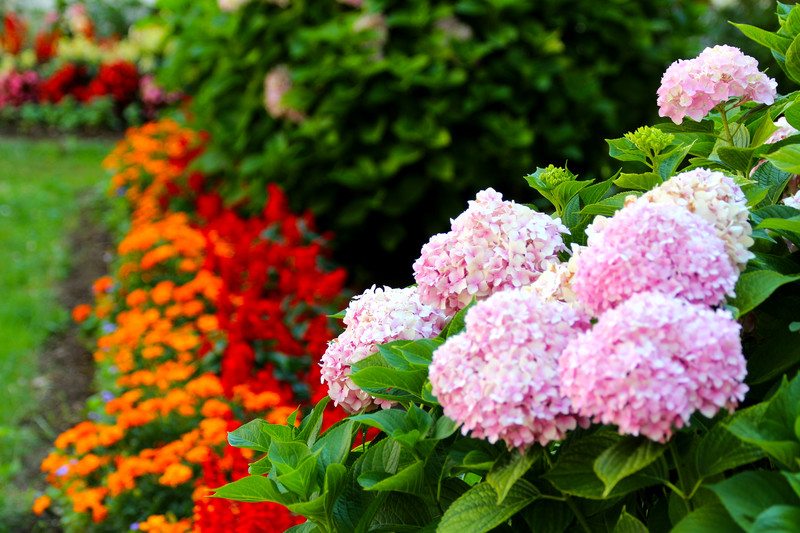
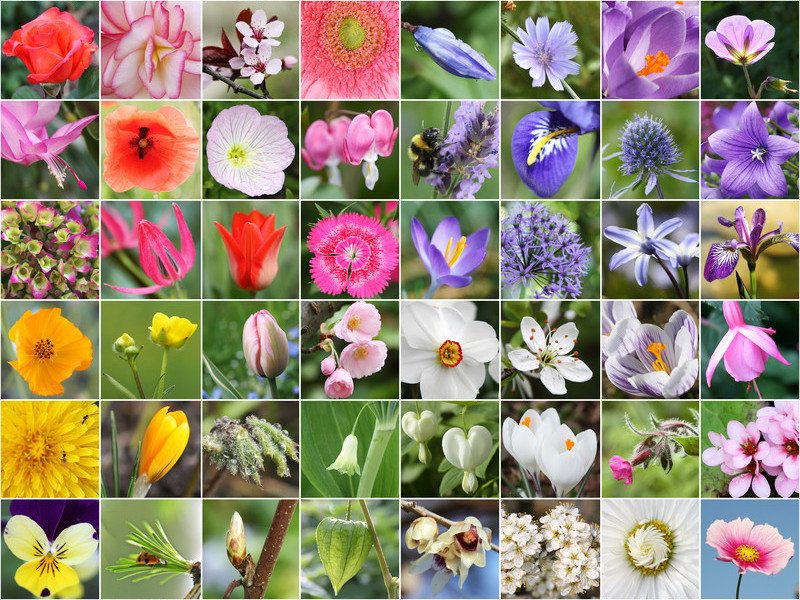
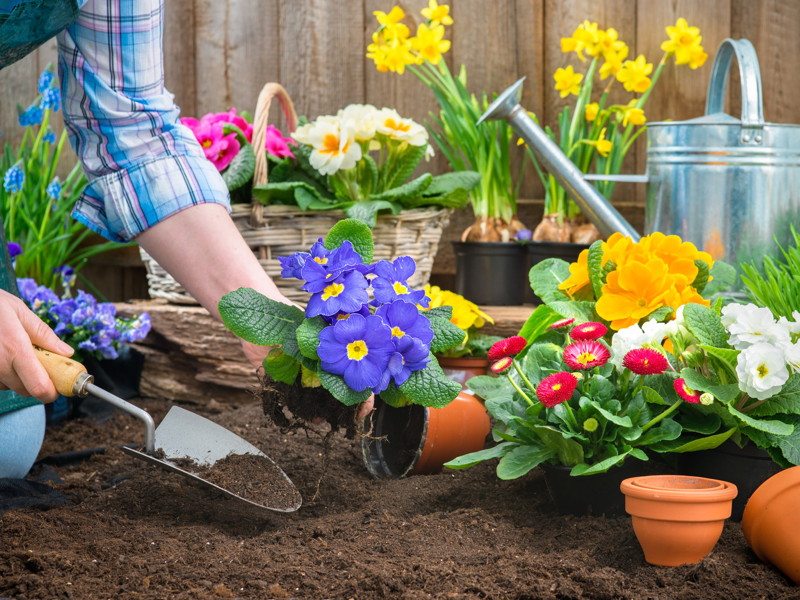
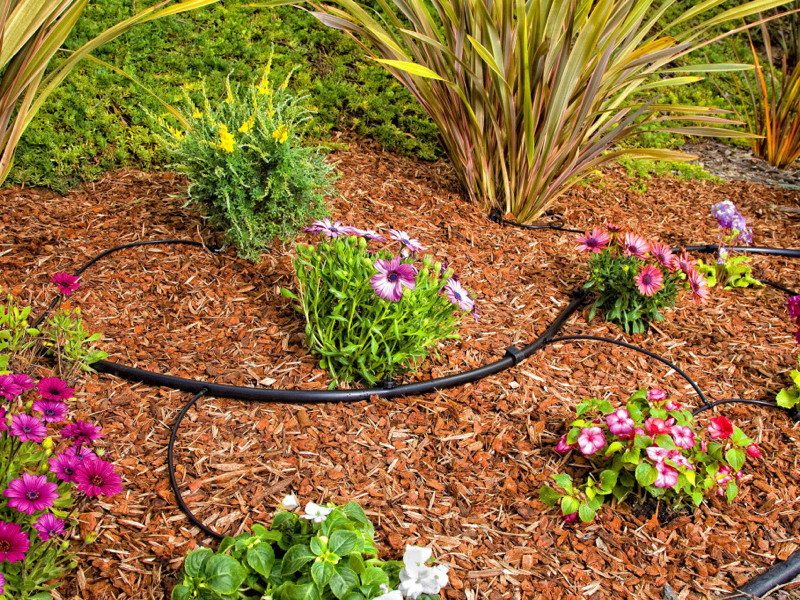
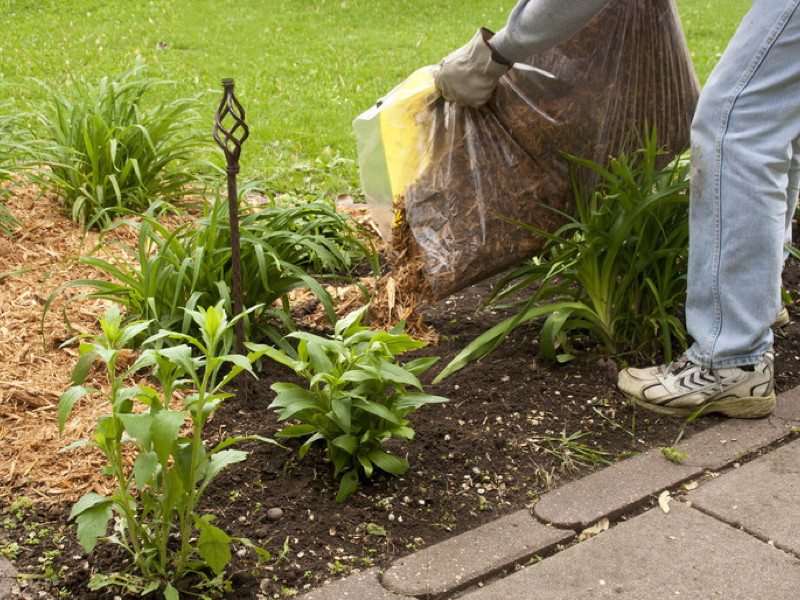
Once you have determined your form and/or style themes and have created and linked the significant spaces within your design, the next step is to consider not only the look but the actual function of your plant choices. Right Plant, Right Spot is a gold standard to always remember when gardening. It will make things much easier in the long run rather than choosing based on looks alone and then running into problems later as the plant grows or doesn’t depending on its location. There are three basic functions of plants: aesthetic, structural and utilitarian. Aesthetics are obviously the visual component that create beauty and style. Structural plants will create borders and walls and allow for the organization and definition of specific spaces and utilitarian plants are selected based on their ability to modify light, temperature and humidity to create for a better outdoor experience within your landscape design. Of course all of this will also be based on your site assessment as to your topography, soil type and drainage issues as well. Choosing plants may seem like the easy part, but in order to create a successful Orlando Landscape Design, you will have to think through these points and make smart choices.

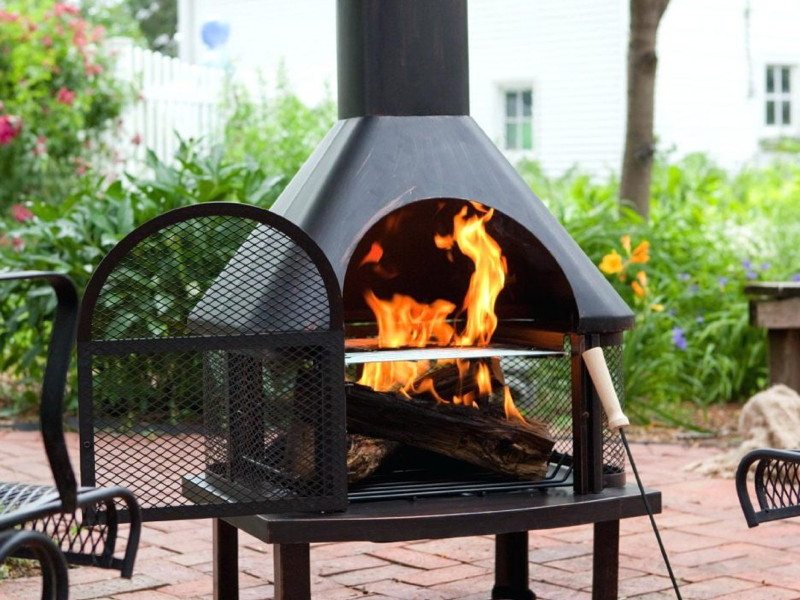
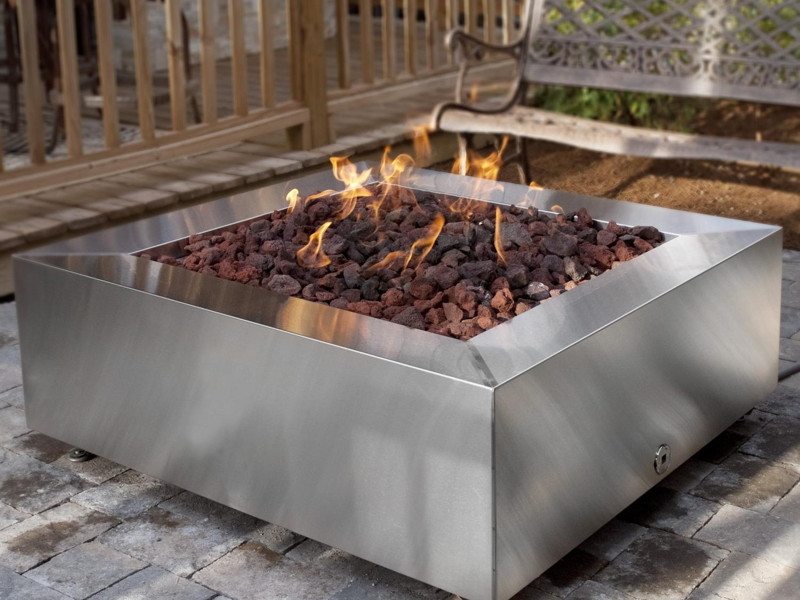
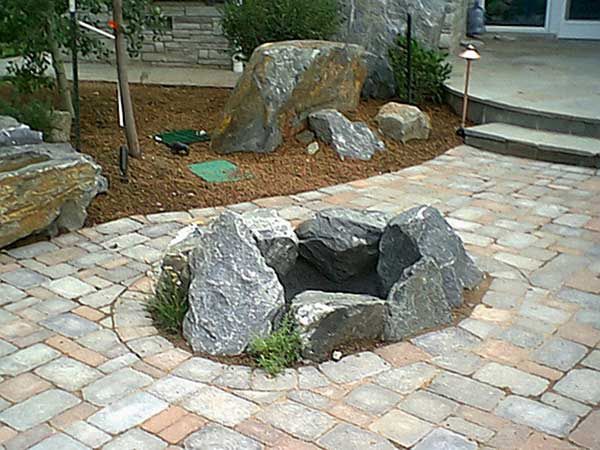
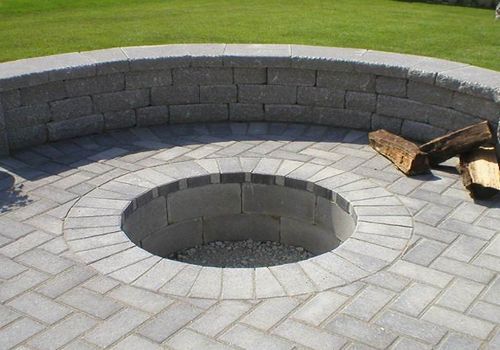
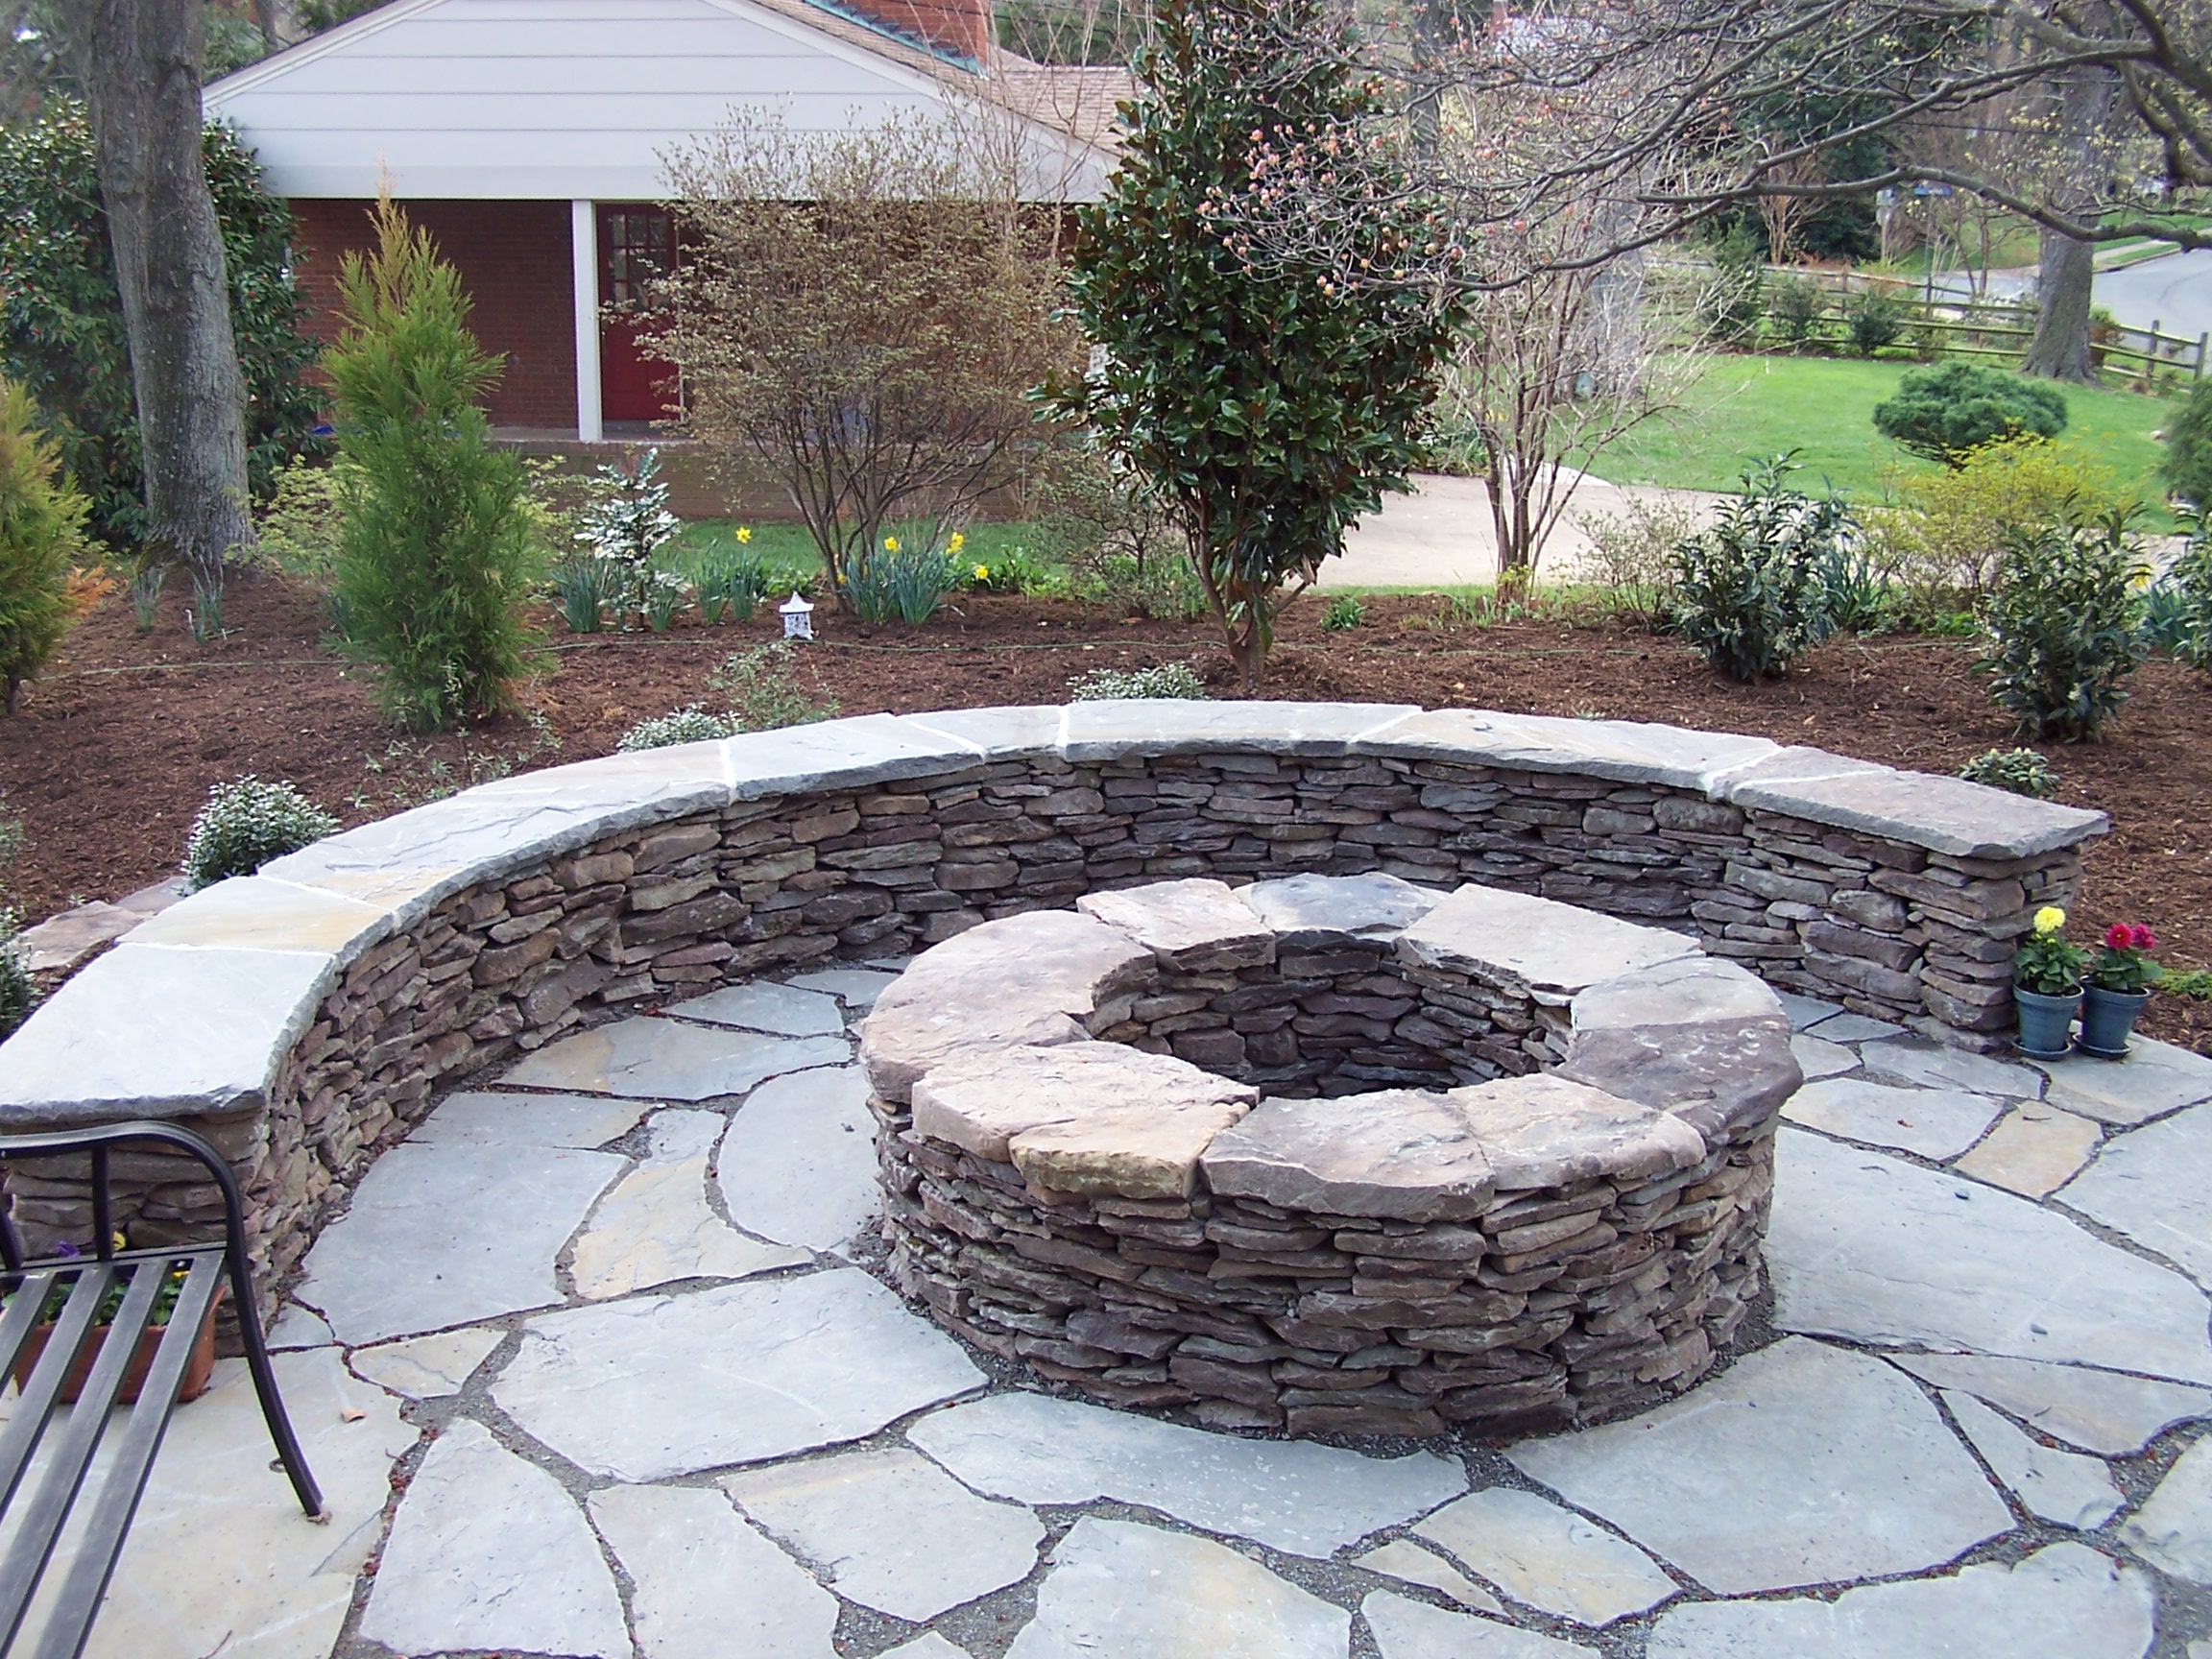
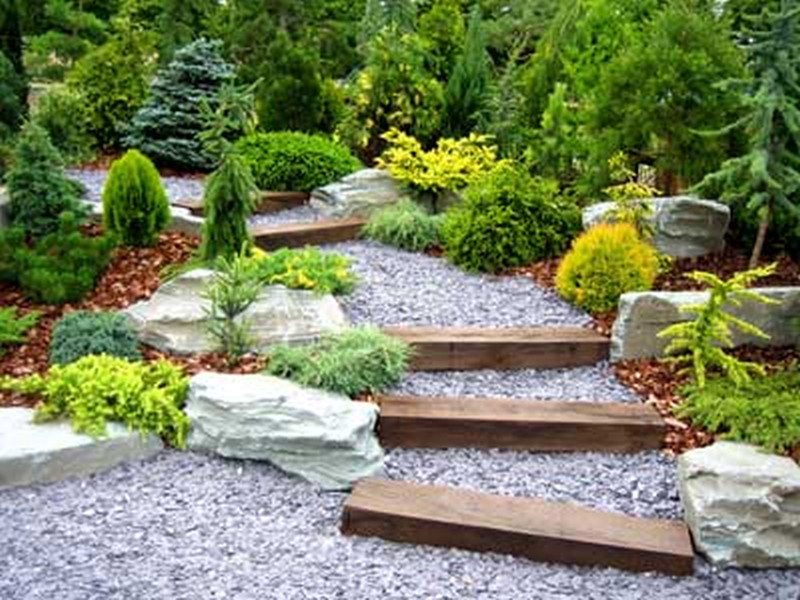
Once you have your selections, you can structure your planting. Plants will provide structure to your design just like walls in a house. Large trees will even create the ceiling to your outdoor rooms with their canopies overhead. Group and layer your plants to achieve the degree of privacy or impact you wish to create. Plant in masses and layer both horizontally and vertically to create an interconnected and continuous flow. Plant masses will be planted in front, behind or beside other plant masses to create your desired effect. Repeating patterns in various parts of your design will tie your spaces together while remembering to maintain those focal points to keep you interested in experiencing more. Focal points can be used to highlight transition areas such as entries marked with gates or arbors. You can also use garden ornaments, statues or water features in areas that you want to highlight and draw interest to.

These are a few last things to consider when creating your successful landscape design:

  1. Remember to take into account the growth of plants in the future and the level of maintenance this will require of you.
  2. Protect your design and your wallet by using sustainable design practices.
  3. Don’t overdo curves when designing. Use longer more subtle curves when designing planting beds.
  4. Add movement by adding some ornamental grasses and plants that will attract birds and butterflies.
  5. Complement your home. Don’t create a design that will be contrary to the architecture and style of your home.

With these guidelines and tips, you will be well on your way to creating a successful Orlando Landscape Design of your very own. Whether you tackle the project yourself or choose to hire a local landscape professional, you will benefit from these key points and will be able to maintain all the vital components of making your design beautiful, functional and easily maintained. Now its time to go get creative!

Spring Lawn Care Tips: How To Trim Your Hedges Like A Pro

Spring Lawn Care Tips: How To Trim Your Hedges Like A Pro

Spring is upon us and everything will soon start to grow like crazy! Now is the best time to get ahead of the game and do some cleaning up of the Winter dead to make room for new growth. It is time to prepare your lawn for Spring and get those shrubs or hedges cleaned up and trimmed back so they look good for the long haul.

If not, before you know it, they will be misshapen and overgrown. The only thing to wait for is the first bloom of flowering shrubs or when new growth has completely formed on non-flowering varieties. Once this has happened, and we are almost there in Central Florida as we have heard Landscapers are buzzing everywhere in the last few weeks.

Pruning and Trimming like a Pro can be easy with the right preparation and the right tips to know. It is fun once you get started to let your creativity flow and design your shrubs or hedges with your own custom look to complement your home. You already know when to prune or trim so get ready to gather your supplies, go outside, get some ideas and get started! Here are our Spring Lawn Care Tips for Pruning and Trimming.

First Things First: What is a Shrub and What is a Hedge?

Here are the basics. A shrub is a woody plant that is smaller than a tree and has several main stems arising close to the ground. A hedge is simply when shrubs are planted close enough to each other to form a row. There are two types of hedges: formal and informal. Formal hedges are those that are sheared or trimmed routinely so that they look like one shrub and create a boundary or living fence. An informal hedge is when shrubs are planted close together, but left mostly in their natural state. These require less pruning or trimming.

Shrubs and hedges that are well maintained can offer a living fence, privacy screen and can aid in prevention of soil erosion from wind and rain. Shrubs and hedges can be a simple and inexpensive way to enhance your landscaping. It is important to prune or trim your shrubs or hedges to prevent them having a negative impact on your curb appeal by being overgrown and unsightly. Nicely maintained shrubs and hedges can actually increase your homes value and allow you to create your own intimate areas within your own backyard.

Pruning Tools

&

Hedge Trimmers

There are two options when it comes to pruning or trimming. You can use manual tools such as pruning shears, loppers and saws or you can use a hedge trimmer machine. Manual tools require more physical labor but can be less expensive than a machinery option. Here are some things to consider:


  1. When using pruning tools, there are some must-haves. These include pruning shears, hand-held pruners, pruning loppers and a curved pruning saw. There are two types of hand-held pruners are both are important to have. Bypass pruning shears cause less damage to the stems and can fit into tight places. Anvil pruning shears are more powerful and can make manual pruning a little less labor intensive by cutting through larger stems. Loppers can cut through branches up to 2 inches and a curved pruning saw can be used for branches over 2 inches. Also, keep in mind that manual tools need to be maintained as well and will require sharpening to kept clean to give you the best results.
  2.  Hedge Trimmers make the job much easier physically and allow for a more even cut when trying to create straight, clean lines. There are various types of hedge trimmers to consider as well. There are electric corded hedge trimmers, gas-powered hedge trimmers and battery-powered cordless hedge trimmers. Each has its own advantages and disadvantages.

    Electric corded hedge trimmers are easy to use and quiet but have the disadvantage of dragging around a cord. They are an affordable choice and basically maintenance free. Electric hedge trimmers are best suited for those with smaller yards.

    Gas-powered hedge trimmers are more powerful and cut thick branches cleanly. They are cord-free and allow for working anywhere in your yard. They are more expensive and they can be loud and release fumes. Cordless, battery-powered hedge trimmers have made a lot of progress in recent years with lithium batteries. It also allows for the freedom to trim without a cord but is much quieter and doesn’t require any gas or oil. Power can be an issue and is dependent on the size of battery used and those that have the most power are heavier and can be quite expensive.

The How To

  • Pruning and Trimming begins by removing any dead or damaged branches including those that may be suffering from disease. Be sure to look closely when pruning to notice any disease or nutrient issues that may need to be addressed.
  • Once all the dead materials are cleared out, take a step back and look at the overall shrub or hedge. Decide which branches to remove to improve the shape of size of the shrub. Start at the bottom and work you way to the top.  Only cut off about 2 inches at a time, especially with a hedge trimmer that can quickly cut into too many branches. It is better to make a few shallow passes than butcher your shrub or hedge.
  • You can prune branches back to outward facing buds, where two branches meet or remove entire branches at the base of the shrub. Keep in mind that the inner limbs need air and sunlight to grow. Pruning by hand is the best way to accomplish this by cutting back some inner branches just above new growth or even to the plant base.
  • Remove suckers, the small branches that grow at the base of the trunk and limbs that grow vertically, known as watersprouts on larger branches. These take nutrients away from the branches you want to support to grow. Make sure you prune leaving the base of the shrub larger than the top in order for those lower areas to receive sunlight.
  • For formal shrub and hedge trimming, begin with some general trimming and then set some stakes and string as a guide. Don’t set too low and be sure to use a level to create straight lines. Prune or trim just along the top and sides of the string.
  • Topiaries can be created easily by using the same method using a rope, string or ribbon to wrap along the outside of the shrub or hedge to create your design. You can step back, visualize and alter the design by adjusting your guide to get just the right look.  Prune or trim branches just above the guide all the way back to the base. This will give the beautiful, sculpted look that make topiaries so desirable.

TIPS

  • Use your hand rake after every few passes with pruning shears or your hedge trimmer to pull out the cut branches and leaves. This will allow you to constantly review your trimming as you go to be sure you are getting the desired results.
  • When shrubs or hedges are overgrown, remove the thickest branches first. You may be fearful but removing those will promote new growth and will fill in making shrubs and hedges look thicker and fuller.
  • Clean cuts are important to promote quicker healing and therefore faster growth. When using pruners or loppers, cut branches deep into the jaws and make sure you keep hedge trimmers sharpened and cleaned.
  • For large shrubs or hedges, consider a hedge trimmer with extended reach and pivotal cutting head. This will make a daunting task much easier and keep those big beautiful plants healthier.
  • Be aware of safety at all times. Clear your work area of any trip hazards or obstacles before you begin and stay aware of any wires or other items that may be entwined into your shrubs or between shrubs and your house. These can be hard to see pose a risk.
  • Keep children and pets out of the area until you have completed your trimming and cleaned up debris and tools.
  • Always wear eye and ear protection. Use gloves and dress in a long sleeve shirt, pants and closed-toed shoes.


Tips for Beautiful Florida Annual Flowers

Tips for Beautiful Florida Annual Flowers

What Is An Annual?

An Annual is a plant that only lasts for one season. This may sound like a waste of time when deciding what to plant for Spring, but annuals can offer long-lasting blooms throughout Spring and into Summer and even into Fall for some species. Annuals provide your landscape with gorgeous, colorful accents with unique leaves and beautiful blooms.

Warm & Cold Season Annuals

It is important to know when to plant Florida Annual Flowers in order to get the most success in growth and blooms. Annuals are divided into two groups: Warm Season and Cold Season. Be sure you are buying Warm Season Florida Annual Flowers for your Spring planting. This can be tricky because some plants are sold out of season and won’t last very long if not planted accordingly. You must also take some time to prepare for planting and then maintain your Annuals so that they can provide that gorgeous color for as long as possible by being happy and healthy.

Preparation is Always Key!

Preparing your beds for planting is imperative to growing healthy and beautiful Florida Annual Flowers. Beds should be prepared before you purchase your plants.


  • Spade or till the area in which you wish to plant at least 6 inches deep a few weeks before planting, be sure to dig out any visible weeds and remove any old plant material that may be left from previous seasons.
  • Incorporate 2 to 3 inches of organic matter such as compost, peat or potting soil to increase nutrients
  • Fertilize prior to planting. Use a controlled-release fertilizer that will provide a continuous supply of nutrients throughout the season. Be sure to match your fertilizer to the type of Annuals you intend to plant in that space.
  • Select Florida Annual Flowers based on the amount of sunlight in the area to be planted. Some will tolerate heat well in full sun all day while others will do better in areas that receive only a few hours of sunlight in morning or afternoon.
  • Prevent Nematodes with fumigant. You can have your soil checked for these and this is highly recommended if you have nematodes present as they can be extremely damaging to Annuals.

So Many Selections!

There are quite few different varieties of Warm Season Florida Annual Flowers that you can choose from. Some of the most popular are Marigold, Begonia, Zinnia, Sunflowers, Pentas and Salvia, but these are just the beginning of a large selection to choose from. The University of Florida Institute of Food and Agricultural Sciences provides a wealth of information on the different types of Florida Annual Flowers and tips to be sure you get the best results. To get a good start, you can access their A-Z Index for Annuals.

Time to Plant!

After you have made your selections, it is finally time to plant your beautiful Florida Annual Flowers for Spring.


  • Determine spacing – When preparing for placement, be sure to space according to the mature size of the plant so as to not overcrowd your flower beds.
  • Dig a hole 4-6″ deep and about twice as wide as the root ball of your Annual. Place removed soil next to the hole for replacement.
  • Water your Annuals well before planting. This will loosen the compacted soil from the container and allow for ease of transplanting.
  • Transplant your Annuals into the ground and fill the hole with the previously removed soil. Be sure to keep the top of the root ball level with the top of the hole. If planting seed, follow packet directions. Another way to plant Annuals is pot-in-pot. This is when you bury a pot and then simply drop potted annuals into these empty pots. This allows for ease of maintenance as the Annuals will come with their own fertilized soil and don’t have to compete with roots or risk nematode infestation. Pot-in-pot planting may require more frequent watering.
  • Mulch the area after planting to ensure conservation of moisture and to help prevent weeds.
  • Water daily until established.

Care & Maintenance

It is important to take some simple steps to maintain your Florida Annual Flowers for optimal growth and blooming. Be sure to continue to revisit these steps to make sure you provide the best possible care for your gorgeous Annuals.


  • Water carefully or from below. Watering from above with a hose or sprinkler can be damaging to fragile petals and can cause blooms to rot. Annuals in beds are best watered with a handheld hose or a drip irrigation system that is directed at soil and roots rather than leaves and blooms.
  • Weed control can be accomplished by adding mulch, hand weeding or adding a pre-emergent herbicide. Pre-emergent herbicides can be applied after planting and mulching and work well to inhibit weed growth. Be sure to use a herbicide appropriate for Annuals.
  • Fertilize your Annuals to be sure they receive nutrients throughout the season. Be sure to match your fertilizer with the type of Annuals you have planted.
  • Pruning makes them happy. Many Annuals perform better when dead blooms are removed (deadheading). You can also pinch stem tips to control size and shape of the plant and promote growth.
  • Monitor regularly for problems such as disease or insects and address quickly if detected. This will help keep your entire bed from infestation.

Enjoy the Beauty!

If you follow these simple tips, you are sure to have a beautiful display of vibrant color in your landscaping all season long. Florida Annual Flowers are some of the best to choose from to make you the envy of the neighborhood. With these tips, you can stay that way all season long! If you are looking to do a full landscaping assessment before planting or to do something different, you can check out our Checklist. Happy planting!

10 Tips To Ready Your Lawn For Spring

10 Tips To Ready Your Lawn For Spring

Spring is on its way! We are lucky here in Central Florida to be able to say that so soon! We may have a few more cold snaps in store, but we can start planning now for all the growth that will be coming with Springtime. Most lawns go dormant during Winter and so do we!

Our yards get little attention during the cooler months and things can get a little neglected. Now is the time to start getting your lawn and outdoor areas ready. Spring cleaning can be saved to indoors once the season begins, but your lawn will need to be addressed before things begin to grow if you want to keep it in good shape year after year.

It is important to address certain things to prepare and get ready. We all know that once the Summer sun and rain kick in, all things green grow like crazy and it is difficult to address issues that may arise. Be sure to take the time now to get your lawn ready so that you can enjoy the green grass and beautiful blooms of Spring.

#1 – Clean Things Up!

  1. The first thing to do when preparing your lawn for Spring is to clean things up.
    • Rake up leaves that may have accumulated. We recommend raking up all surface leaves and debris first off and then come back over the grass with a deep raking. This will help to remove any dead grass that has settled into your yard over the Winter months.
    • Clean out your flower beds, under shrubs and around trees. Remove debris and any weeds that may have popped up during cool weather.
    • Prune and plants, shrubs and trees to remove dead branches and cut back for optimal new growth. Don’t forget your Evergreens by cutting off any tips that may have died back from the cold snaps. Be sure not to prune any blooming shrubs until after their first bloom, not before.
    • Pull out or separate perennials that will come back such as Azalea and Begonias. This is a great time to thin these out and create a great display once they bloom again. Even if you aren’t dividing them, inspect your perennials and clean off any dead leaves to allow for new growth.

#2 – Inspect, Repair and Maintain

2. It is important to take some time to inspect your landscaping equipment and your irrigation systems to be sure that they are in good working order. Now is a great time to either replace or sharpen your lawn mower blade, restring weed eaters and do any needed repairs that are needed such as carburetor cleaning, replacing fuel, etc. We recommend using a fuel without ethanol for lawn equipment or treating your gas with a stabilizer that will help keep small engine equipment running at its best. For irrigation systems, be sure that you haven’t suffered any broken pipes or sprinkler heads and be sure to set timers for the appropriate watering schedule for your area. If you don’t have one, get a water gauge to place in your yard to monitor waterfall and adjust your irrigation accordingly. This is especially important for the Summer months when we get lots of rain here in Central Florida. Unnecessary watering is wasteful and can lead to fines if done in excess depending on the local guidelines in your community.

#3 – Aerate!

3. Although it probably isn’t the most common type of lawn maintenance, aeration is vital to a healthy lawn. Aeration is basically the process of puncturing the soil with small holes by the use of a machine or tool. The holes allow more air, water and nutrients to penetrate the roots of your turf grass. This allows the grass to flourish and the roots to grow deeper to create a stronger, hardier lawn. Aeration eases the issues from soil compaction which prevents the soil from proper absorption of the necessities for growth: air, water and nutrients. There are various ways to aerate your lawn including using large mechanical aerators that can be rented or purchased. You can also use hand tools such as a pitch fork or hollow tiner. There are even spiked sandals that strap over your shoes for aerating while you walk around in your yard! HGTV does a great job of covering some of those options. There is also a soil conditioner sold by Outsidepride that can be used by attaching to your water hose that has beneficial organisms that can do the aeration for you.

#4 – Reseed!

4. Walk around your lawn and look for any bare spots or brown patches in your grass. Because grass and weeds compete for space in your lawn, it is important to make sure your grass will have enough new growth come Spring that it will make it difficult for any weeds to get out of hand and take over. You can reseed areas easily by loosening dirt to to around 2-4 inches and then spreading a mixture of grass seed and compost over the area. Be sure to tamp the surface down and water as needed to promote growth. You can also sod areas that have died off or worn thin for grasses that do not offer a seeding option. For more information on the best grass for Central Florida, visit The Green Blog.

#5 – Weed!

5. Weeding is especially important here in Central Florida if you want to maintain your lawn and landscaping beds to allow for new growth of grass and plants. Removing weeds before they have a chance to go to seed is vital in your yard and beds to prevent them from taking over during the hot and steamy Summer months. You can also prevent weeds from spreading in your lawn by applying a pre-emergent herbicide that will interrupt the growth process before the weeds have a chance to sprout and germinate. Many weeds are both perennial and annual and can pop up if you are not actively inspecting your lawn on a regular basis. To treat weeds that have already sprouted, you can use a post-emergent herbicide that will kill actively growing weeds. Post-emergent herbicides are also great for maintaining a weed free lawn by spot treating individual weeds as you see them emerge.

#6 – Edge

6. Edging is an important step in preparing your lawn for Spring. Not only does it create clean lines and improve your curb appeal, it also prevents overgrowth of grass into landscaping beds and onto walkways. Be sure to create enough space between your lawn and these areas to allow for the rapid growth that occurs in late Spring and Summer. You will likely have to maintain this throughout the season. We recommend creating a larger edge at the beginning of Spring by hand using a shovel or with a heavy duty edger. This can be easier maintained with a household edger or weed-eater throughout the season. You can also create a larger edge between walkways and your lawn and install some small rock or gravel. This will be easy to maintain a nice edge, prevent weeds and creates a border for flowering plants or landscape lighting without worrying about destroying those during regular mowings and edging.

#7 – Feed!

7. Fertilizing is almost a necessity to maintain a happy and healthy lawn and landscaping, but can be tricky. It is good to fertilize your plants in Spring to promote new leaf growth and the production of healthy blooms. You can use an organic or granular fertilizer. Just be sure to test your soil pH level to determine what nutrients you need and match to the needs of the plants you are treating. However, fertilizing your lawn is a different story. You will still want to test your soil contents but while it might seem logical to fertilize your lawn too, it is best to wait until after your first Spring mowing. Applying fertilizer to your lawn too early can throw off the growth of your turf grass. It is best to wait until late Spring. You can, however, spread a thin layer of compost on your lawn to give it a good boost in early Spring. You only need about 1/4 inch layer for your lawn to love you and for you to love the lush green growth once the Summer heat is here.

#8 – Mulch

8. Mulching is a great way to insulate your plants from changing temperatures and protect roots during growth periods. If you haven’t mulched, you should be adding it to your to do list and if you have, be sure to refresh the mulch in your landscaping areas before Spring. Look for any clumps or matted areas and remove as they will prevent penetration of water and nutrients just like compacted soil. Mulch also helps to maintain soil temperature, moisture, and will aid in the prevention of weeds. Mulch to a layer of 2-3 inches around the bases of plants, trees and shrubs. Also be sure to cover emerging bulbs or perennials. If you aren’t sure which type of mulch to use, check out this Green Blog.

#9 – Compost

9. Spring is the perfect time to start a compost bin if you haven’t already. They are easy to make yourself and there are many options to purchase in a variety of shapes, sizes and materials. You can use your spring clippings to add to your pile along with some shredded paper and kitchen wastes. By starting a compost bin now, you will continue to have rich, fertile soil all season long for planting and maintaining a beautiful lawn and landscaping. The best part is that once you’ve built your bin, the compost is free! Compost bins can also help to support your flora and flauna by repurposing wastes and supporting your lawn and vegetation with natural ingredients which will minimize your need to use chemicals.

#10 – Consult Your Landscape Professional

10. Lastly, be sure to consult your local landscape professional when it comes to any questions you may have about all the items on this list. It is not a small undertaking to clean and prepare your lawn and landscape for Spring after several months of cold weather. They can test your soil and most have a level of expertise that far outweighs the part time help at a big box store. Not to mention that you will be using a local business and supporting your immediate community in the process. Be proactive and reach out. You can make your own list, make an appointment to discuss the best way to manage that list, or you can have a landscape professional come out and do an assessment for you. Most landscape professionals will offer this service at a reasonable cost and can give you a quote at the same time of performing all the work for you too. This is a great option for those people that don’t have time or just don’t want the hassle. Either way, be sure to get your yard ready now so you can enjoy all those upcoming Summer barbecues without stress and worry.

Curb Appeal Landscaping Tips To Help Sell Your Home

Curb Appeal Landscaping Tips To Help Sell Your Home

It is important to always put your best foot forward. You never get a second chance to make a first impression, and sometimes, you aren’t even aware when it happens. This is especially true when selling your home.

Many potential buyers will drive around neighborhoods that they prefer in certain areas when looking for their new home long before contacting a realtor. If you have intentions of selling your home in the near future, you will want to start sprucing up your landscaping.

The parts of your yard that are visible from the road are significant in creating just the impression. Curb appeal landscaping can be worth its weight in gold. Quite literally, the right landscaping can actually increase the offers you receive on your home.

MAKE AN ASSESSMENT

The first thing to do once you have decided to sell your home, is to make an assessment of any updates, repairs, etc that will need to be made to help sell your home. Walk around your entire yard, front and back with a critical eye and a notepad for making a list. Get in your car and drive by your home slowly from all available angles as well and make notes on anything that sticks out or looks bare. Also, have a friend come over for a second look. This should not be a neighbor. The idea is for fresh eyes and you and your neighbors are used to seeing each others spaces on a daily basis.

Once you have made your list, go back and stand at the curb and look at the overall image of your yard. You want to make sure that your front door is the focal point. If it isn’t add that project to your list. With a few plants and the right arrangement, you can draw the buyer’s eye in.

One thing you can do is line your walkway with small green plants or annuals. This will lead the eye right to your door. Be sure to have a Welcome mat as well. To add a pop, you can add a potted plant to each side of your front door. The National Board of Realtors indicate that 63% of potential homebuyers will drive by after viewing a home they like online. You want to be sure that your home is always ready to impress and that starts with the outside.

CURB APPEAL LANDSCAPING TIPS


Here are some of the most common areas to address when making your assessment and to do list when preparing your home’s exterior to be market ready. The ideal time frame is to start any repairs or maintenance about one month before your home goes on the market. Of course, this depends on the number and complexity of the projects that will need to be done. This is a good rule of thumb for regularly maintained yards but you can determine your time frame better once you have made your assessment. We would suggest making your assessment list for both indoors and outdoors about 3 months ahead to give yourself plenty of time to get your home market ready.

  • Mow – This may sound simple but it is vitally important. When selling your home, you want to keep your lawn at about 2″ in height. An overgrown lawn will deter potential buyers while a well-maintained lawn will send the message that your home is well maintained.
  • Trim and prune – When creating your assessment, you notate areas that need trimming and pruning. Removing any dead tree branches, overgrowth on shrubs and weeding beds will clean up your landscaping and give it a clean, crisp feel that will complement your home rather than deter from it. Also, remove any dead plant material from planting beds and consider removing any plants that are in bad shape or simplifying your landscape if you have too many plants of different shapes and sizes. Removing plants can add that clean look you want. If you have favorites that you know you will want to take with you, dig them up and put them in pots now to save time later. You can add these in areas where you removed plants or where there are any gaps. You also want to weed your driveway, walkways and any patio or deck areas and remove any vegetation that blocks windows or pathways to continue your manicured look.
  • Clean – This is a big one. We come and go all the time and when you see the same thing multiple times a day, sometimes things are overlooked. Be sure to clean all areas immediately at the front, sides, and back of your home. A great way to do this is by pressure washing. You can clean off any settled dirt, cobwebs, mold etc pretty easily with a pressure washer. Be sure to include any fixtures such as fire pits, outdoor water features, and even your outdoor furniture when cleaning. Once the initial pressure washing is done, you can spray down these areas with a hose to maintain the cleanliness while your house is on the market.
  • Repair – Be sure to repair any issues with your irrigation system, faucet leaks, missing pavers, failing fire pits, etc once everything is cleaned up. You don’t want one eyesore ruining all of your hard work when a potential buyer spots it on their review of your property. This can also include adding a new coat of paint or stain to decks or patios, outdoor furniture that may be worn and faded. A fresh coat of paint to your front door and front trim with make your house pop and will draw in buyers.
  • Plant and Mulch – Add some instant color and eye candy for buyers by planting some simple, inexpensive annuals. Mix it up with a variety of colors that complement your home and you will have an instant selling point. Touch up the mulch by adding a new top layer that will make your beds look tidy and clean. Be sure to keep these cleaned out while your home is being shown. If you need to shape your beds, curved lines work best and create a design that flows from the front around sides and into the back of your home. You want to keep beds simple. Plant in odd numbers and use easy to maintain plants. Also, consider labeling your plants, this will impress potential buyers by knowing what is planted and being secure in their ability to maintain the beautiful landscaping that you have created. Consider evergreens for shrubbery and for hiding any unsightly items in your yard such as pool equipment, garbage can areas or any ugly views from yards around yours.

With these tips, you can bring your lawn from sad to fabulous and create landscaping that will have any potential buyer anxious to come and see your home. Landscaping can add to your asking price and get you more for your home for just a small investment in time and money. It will also make you feel good to pass along your home to the next family with a great outdoor area that they can enjoy for years to come just as you did.


Types of Fire Pits: Which Is Right For You?

Types of Fire Pits: Which Is Right For You?

We may have just gotten through a cold snap here in Central Florida, but there is sure to be another right around the corner. If you are looking to add a new fire pit or replace an old one, what should you consider before just heading out to a big box store or ordering online?

There are so many different types of fire pits and options to consider, it can be overwhelming. The warmth of the fire may tempt you to jump at what is readily available, but you will be better served if you think through some simple points beforehand.

Uses & Types of Fire Pits

We all think of that cozy campfire when we think of adding a space for a fire pit to our outdoor area. However, there are many different uses to consider when purchasing or building a fire pit.

Consider Purpose

The first thing to ask when considering types of fire pits, is what purpose it will serve for you and your outdoor space? You may want something simple for warmth and light to a patio to enjoy during the cold snaps. You may want a more intimate and quaint sitting area for conversation a bit further into your yard?

You may also consider a fire pit that can dual as a grill for cooking or have a table top that can be used in the warmer seasons. Some fire pits can also become a focal point of beautiful design and chimney work for wonderful and functional entertaining.

So you want to consider what you will likely use it for the most often and what type of setting or mood you want for your outdoor spaces.

Consider Location

The second decision to make when considering types of fire pits is that of location. Of course, this is tied to your decision of its purpose, but you may have many choices of location in your outdoor space depending on your use. The most important thing is to first be self-aware in choosing a location and arm your self with some knowledge in regard to your local City and County guidelines and what types of fire pits are permitted.

Also, consider the exposure to smoke when choosing a location. The EPA has some great information in their Burn Wise program. Some other things to take in mind when locating your fire pit is taking care not to have an open flame too close to exterior walls of your home. As well, if you have a fire pit under a covered patio, take extra precaution and choose a small enough fire pit that it will not pose a risk of fire. There are some great, small tabletop fire pits that can work great in these areas.

Consider Type

Once you have decided what your fire pit’s purpose will be and where it will be located, the next step in your decision process is to decide what type of fire pit you want in regard to material. There are fire pits made using many different types of materials.

The first thing to consider for the type will be whether or not your fire pit will be portable. If so, there are many varieties to choose from. If you decide to construct a permanent fire pit somewhere in your space, you will have to choose from sturdy materials such as block or stone, but these permanent fixtures can become a beautiful addition to your home’s overall decor.

5 Types of Fire Pits

Below are some great examples of very different types of fire pits in a variety of materials.

  • Steel makes a great option because it can be used in many different designs as it is easy to mold. It is prone to rust, however, so be sure to look for powder-coated options.
  • Stainless Steel makes a more lightweight option and will hold up to weather while the price tag may be a little higher.
  • Copper is a very durable material that will develop a nice patina over time from flames but these are typically an expensive option.
  • Cast Iron is a wonderful option for fire pits because of its many advantages that include lightweight, heat conduction and being great for cooking too.
  • Aluminum is a very common type of fire pit as it is a very affordable yet very durable option for outdoors.
Types of Firepits

Installation or Construction

Even when installing in-ground, you can DIY or use a hardscape contractor to install something creative and unique using stone or block that will add a wonderful feature to your outdoor space. You can install rock, stone, or even a fire ring or in-ground design that will make your fire pit the one everyone wants to gather around.

Fuels and Other Considerations

Once you have decided on your fire pit, selected a location and type, the next stage of this process of choice is deciding what type of fuel you want to burn. While wood creates that crackle and smoke that some of us love, propane or natural gas can provide for much cleaner burning and minimal clean up and maintenance. Charcoal is also an option that can create ease of use, it can also be very messy and require constant cleaning and maintenance. Your purpose will direct your fuel choice to some degree but overall, you want to go with the option that will give you the most enjoyment out of your fire pit.

Lastly, consider what accessories you might want to go along with your fire pit. There are great tool sets for fire pits as well as grates and rotisserie options for cooking. There are also larger accessories such as removable tabletops and covers.

Hopefully our suggestions here will help you through your journey of choosing what type of fire pit is right for you and you will be happy with the fire pit you choose for years to come.

FREE DOWNLOAD

Landscape Assessment & Planning Checklist

Landscape Planning Checklist